Working with Courses
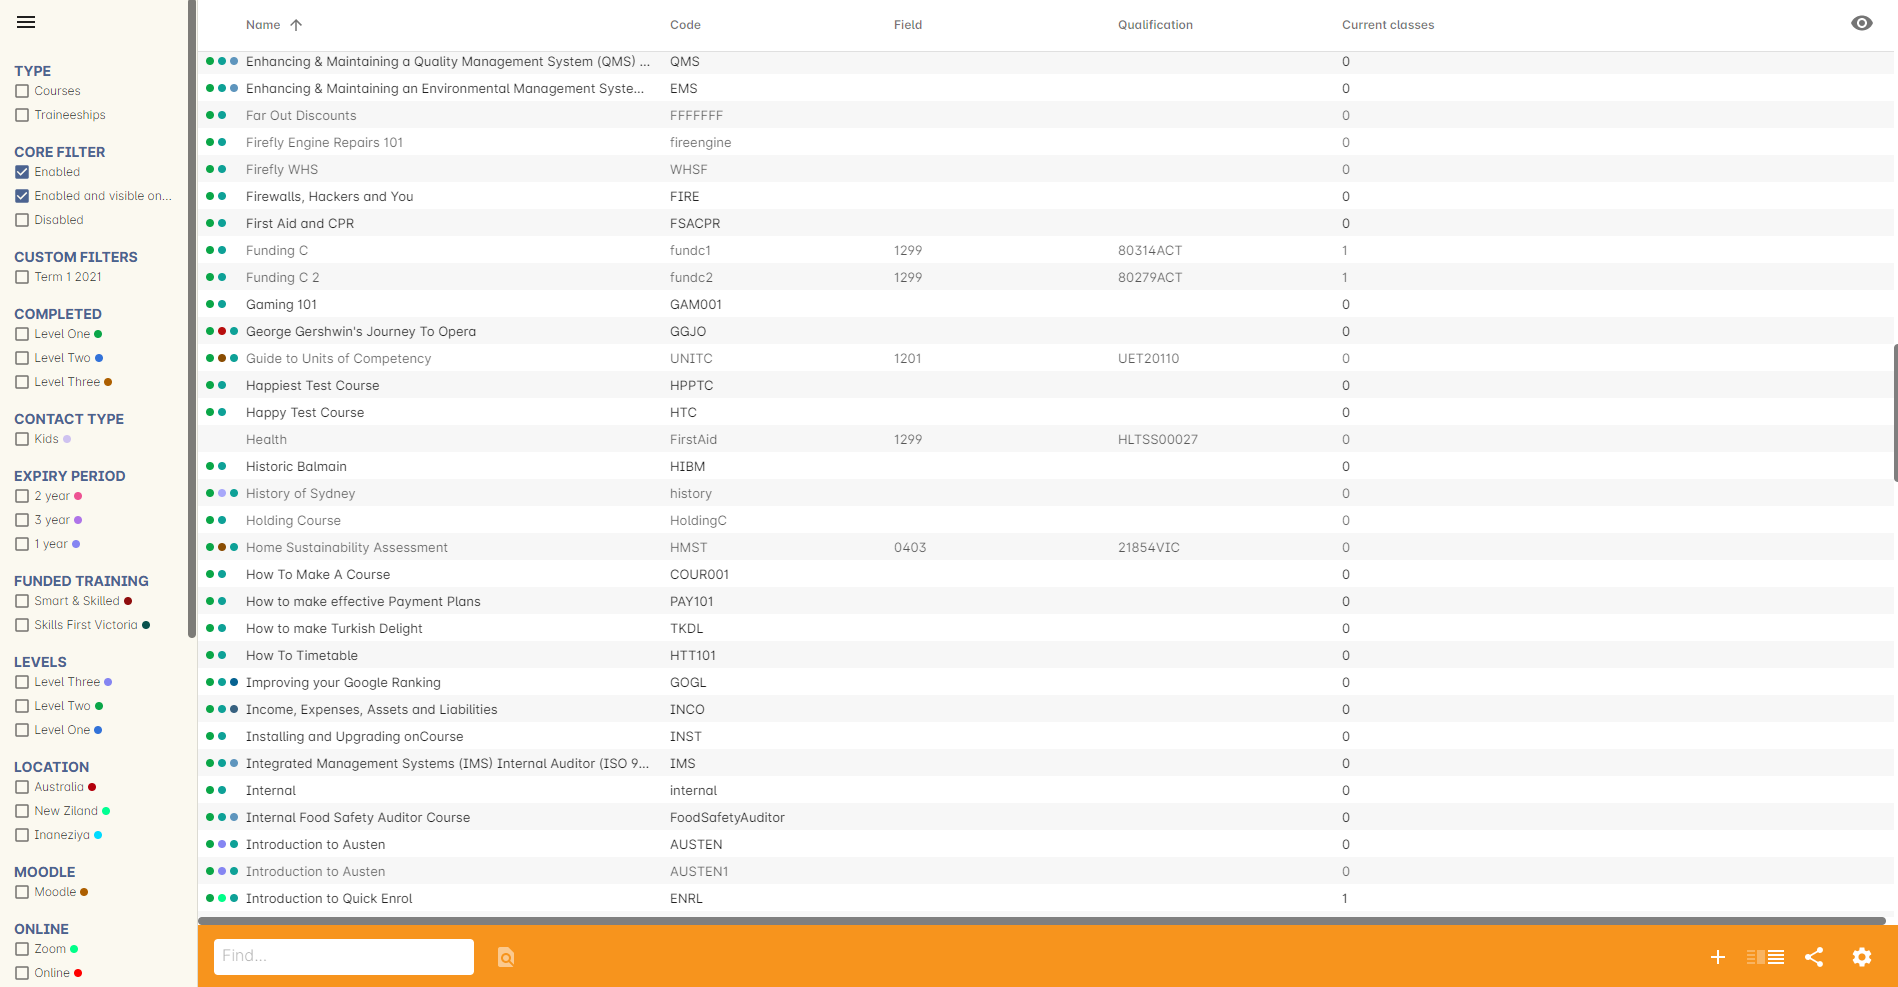
To access the course records, go to the Dashboard and type Courses into the search, then click the result, 'Courses'. The Courses list view can display both Courses and Traineeship Courses.

Figure 99. The course list view showing the core filters and tag filters
The course cogwheel
From the list view, the course cogwheel on the right-hand side of the window offers a few different functions.
Duplicate Course
Lets you duplicate the course. This copies all the marketing and attached record data from a course into a new course with the same name, and a '1' added to the end of the course code. The feature is of particular use when a training package updates and course units need to be adjusted for future enrolments. This does not duplicate classes within the course.
Bulk edit
Bulk editing tools for Courses allow you to set the enrolment type, course status, data collection rule, and add and remove tags for multiple courses at a time.
Delete record
Allows you to delete the course record. You cannot delete courses where classes with enrolments exist.
Creating a new course
You need only enter the course name and course code to create your courses in onCourse, you can return to the record later more information, like a description for your website or print marketing.
- In the Courses window, click on the + icon in the bottom right-hand corner of the screen. A new course screen will open, focused on the general section.
- Enter a name for your course, and a course code in the relevant fields. Your course code must be unique, that is a code not used by any other course already created. Please note that the course code must not have any spaces between characters. So the course code for 'Dancing for Beginners 1', written using the first letter of each word, must be entered as 'DFB1' and not 'DFB 1'. The code used will also become the course page URL on your website e.g. www.mycollege.com/course/DFB1. You can enter up to 32 characters in this field, so if you wish to create good URLs for SEO purposes, you could make your code longer, for example DanceClassStage1 to create the URL www.mycollege.com/course/DanceClassStage1
- Add course tags. You can add one or more tags to your course record by clicking the Tags field below the Course Name, and entering the tag name. The default tag group used to drive your onCourse website is called 'Subjects'. If you add a tag from this group, your course will be available to users browsing your website. More information is available about in our Tags chapter.
- Choose an enrolment type. There are two choices of enrolment type that relate to enrolments processed over the website. Open enrolment means students can enrol and pay directly on the web. This is the default setting. Enrolment by Application means there is an approval required by your office staff before a student is offered a place and can enrol and pay on the web. Set the enrolment type appropriate to your course. All classes from this course share an enrolment type.
- In the Status field, the Enabled option will be selected by default. This allows you to create classes for this course. If you want to show this course on the web, change it to Enabled and visible online. If you decide to retire this course from your list of offerings you can change this to Course Disabled. Courses that are disabled can still have new classes created for them but appear greyed out in the list view.
- Set data collection rules. You’ll need to choose a set of Data Collection Rules from the Data Collection drop down box, to display to students when enrolling online. These are useful for when you need to gather data for a VET course, or for when you simply want to gather some information on your students for future marketing use. You can learn more about Data Collection Rules and how to create your own in
our Data Collection chapter. - You can mark this course as a Traineeship by clicking the Traineeship checkbox. If you want students to be able to go on the waiting list for this course check the allows waiting lists box. This box is checked by default.
- Below is the print brochure description box. There are two options for entering descriptions: print brochure description on the general tab, and web description in the Marketing section. Usually, print materials are limited to descriptions of two or three lines, whereas on the web, your space is unlimited. If you do not intend to use onCourse to create a print based brochure, you do not need to enter any information in the print brochure description field. Use the InDesign Brochure XML Export to get it ready for import into a print design product like Adobe InDesign.
- Next is the marketing section where you can edit the web description field. Text in the web description field will display as the course description on your website, and can be written in rich text format. A guide to using rich text can be found in our web manual. You can also attach images, files or documents to the web page. To advertise this course online, select Enabled and visible online in the general tab. Visit our section below on course marketing.
- The Notes section can be used to add internal notes about the course that will not be published to the web.
- The Documents section can be used to create a link between any documents that have been uploaded to the onCourse document management system, and the course you are creating. Either click the + button to search for documents already uploaded to your system, or drag-and-drop a file on the window and it will upload and attach to the course.
- Next is Classes. During the course set up stage, there will be no information available in the Classes section. After you schedule some classes you will see them here.
- If you’re creating a VET course, you can set either a full qualification package from under the VET heading by clicking the Qualification drop down box and making a selection. You can also add create your own part qualifications in the Modules/Units of Competency section. Read more in VET portion of this chapter.
- When you have entered your information, click save. You will be returned to the course list page.Notice that the course you have entered is now listed. You can return to edit this course at any time by double clicking on it.\
Field Validation
You will notice that before entering data, the course and code box is coloured red. Once you have entered valid text the colouring disappears. Should the box remain red, it means that you have not entered the data correctly and need to review your entry. You will not be able to save the record as the save button will be disabled. There will be a warning icon that will provide you with information as to why the data you have entered is not accepted if you hover over it.
Editing and Updating Courses
After a course has been created, you can create its classes. Click on the + next to 'Classes' in the course window to open a new class record. You can also edit a course record simply by opening it and editing the field, then saving it.

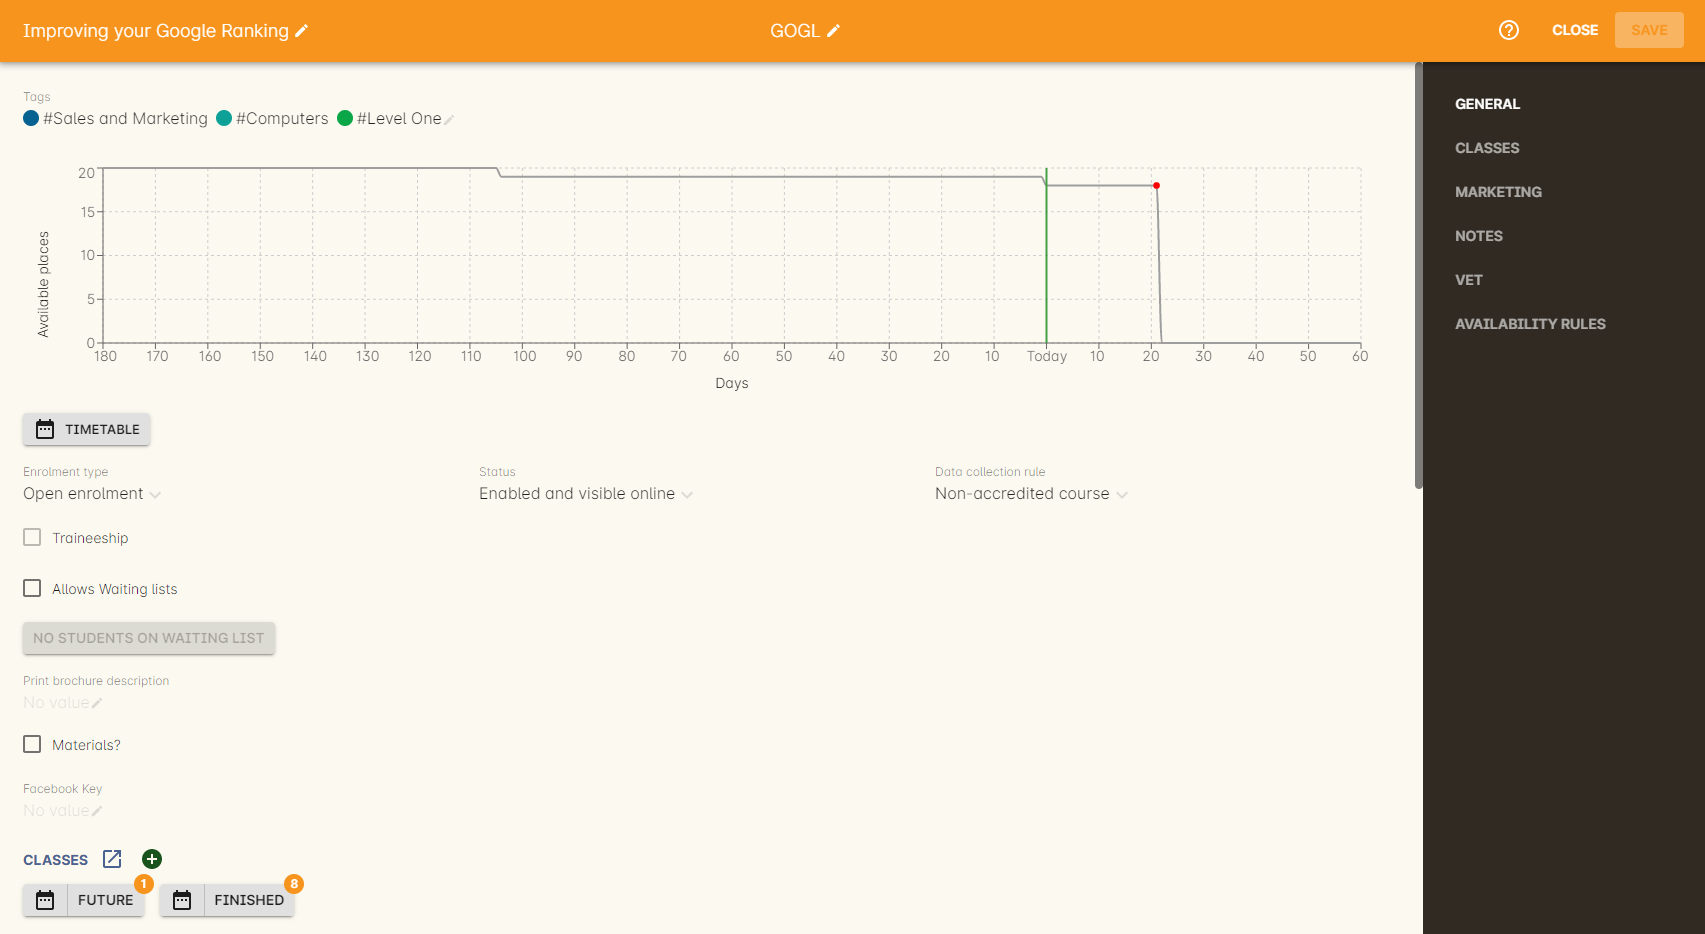
Figure 100. The course edit view
Available places graph
At the top of the course record is a graph that displays the total number of available places across the course in total, for all classes, over a 240 day period; an overview of all activity from the last 180 days and a projection of the next 60 days. The green line represents today.
Green dots show when new classes were added, red dots show when a class commences. The creation of a class will show a spike in available places, and as enrolments are taken this number/graph will go down over time. Hover your mouse over the dots to see more information about the class and the number of places.
Past data is representative of what actually happened, while projected data uses the previous data to try and map out the expected place availability of future classes.

Figure 101. 12 places were avialble when the first class was created nearly 150 days ago. That class almost sold out, so more places were made available through a second class added 70 days ago. None of those places have sold as yet.
Creating course and product relationships
onCourse allows you to link courses and products using predefined relationships. You can read more about course and product relationships in our relationships chapter.
To add a relation to a course:
-
Inside the course record, scroll down till you get to the Related Courses/Products section and click the + button next to the section header.
-
To select a product to add as a relation, click in the 'Find Products' section then type out the name of the product you want to add. Similarly, to add a Course, type a course name into the 'Find Courses' field. There are no limits to the number of relations you can add.
The fields for adding products and adding courses are different. Make sure you’re using the right one for what you want to find.
-
Search results will appear and will auto-filter the more you type. Click the 'Add' button to the right of a selection to add it as a relation.
-
Lastly, make sure you set a relationship direction and type by making a choice from the drop-down box that appears. make sure you do this before saving as the relationship type can’t be changed. If you make a mistake you’ll need to delete the link and add it again.

Figure 102. Adding Related Courses and Products
Any related Courses that you set up must be web visible and open to enrolments in order to display with the original course on the website.
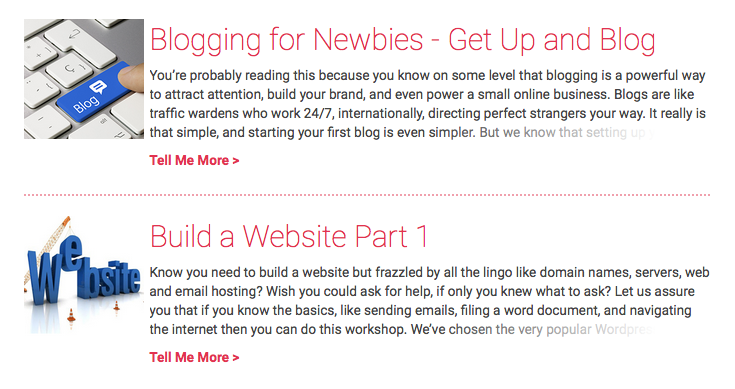
Adding thumbnail images to /courses pages on your website
You have the ability to add thumbnail images to all your courses. These will appear on your website on any courses list view page, so that’s any URL that contains /courses after your domain name e.g. www.acme.com.au/courses or www.acme.com.au/courses/business/computing. More information about it can be found in the
https://www.ish.com.au/onCourse/doc/web/#images_and_attachments[attachments
chapter] of the web manual.

Figure 103. Example of thumbnail images being added to courses
Updated over 1 year ago
