Other export types and options
AVETMISS export
To export your AVETMISS you can either go to export directly via the 'Export AVETMISS 8' window, or via the Export AVETMISS 8 cogwheel function in the classes or enrolments windows. We recommend the Export AVETMISS 8 window for ease of use.
For more information about how the onCourse data collection and various AVETMISS export options work, see AVETMISS.
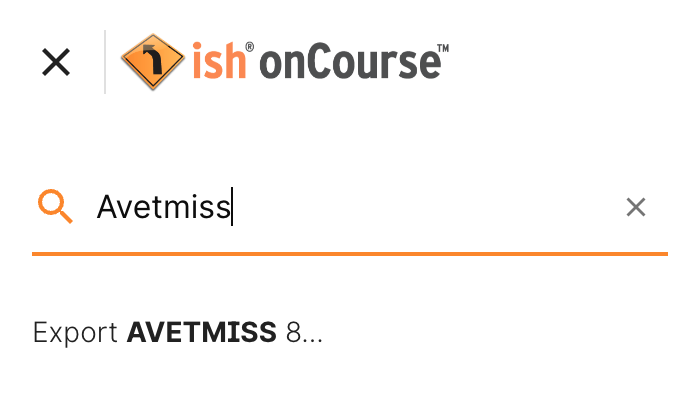
Figure 342. AVETMISS 8 Search result
Exporting to Adobe InDesign
onCourse already comes with a template for exporting to Adobe InDesign.
- Open the class list view
- Use the searching feature to find the classes you want in your brochure. This might be one or a thousand classes.
- Click the Share icon, select and select "XML". Select "InDesign Brochure XML Export" then click
Share. Export this data and save it to disk somewhere. It will be an XML file, ready for InDesign.
Now fire up Adobe InDesign and import this file.
- File > Import XML
- Choose your XML file which you just exported from onCourse.
- Ticking "Link" will keep the InDesign document linked to your source XML so that changes to the XML flow through
- The structure of the data will now appear in the left column. You can drag any element into a text box in your layout and have the text automatically flow through.
- Use the "map tags to style..." menu item to map the tags against your paragraph and character style sheets. Once this is done you can save the mapping so that next time you create this document with fresh data all the styles are linked quickly and simply.
If you now spend a bit of time tidying up your stylesheets (both character styles and paragraph styles) in InDesign you can set up the whole process to be almost completely automated. Next time you export from onCourse, the data will flow right into InDesign complete with all the formatting you need. Just paginate your brochure, place in some pictures and you are done.
If you need to customise your export further, you can do this yourself if you have the skills in house, or engage ish to make the changes for you.
OLGR CSV Export
onCourse has an export that allows you to export student data into OLGR for the state of NSW. To do this:
- Open the
Classeswindow and locate the RSA class you want to create the file for - Single click on the chosen class
- Click the Find related icon and select 'enrolled students'. This will open the students from this class in a new contact window
- With the contact window at the front of your onCourse view, click the Share icon > Excel
- Choose the option 'NSW OLGR CSV export' and click
Share. - Open the CSV file in excel and use your current process to upload the data into OLGR
Exporting to MYOB
If your organisation utilizes MYOB as the key financial system, you can generate an export that is specifically designed for importing data directly into MYOB. There are 2 different pathways within the onCourse Client to access and generate the financial data export for MYOB.
Generating a MYOB Export via the Financial Summary Extract Menu
You must be an admin user to access this export script.
The steps involved in running this export are as follows:
-
Type 'MYOB' into the find anything search, or click on 'All' in the left navigation column, and select 'MYOB export'
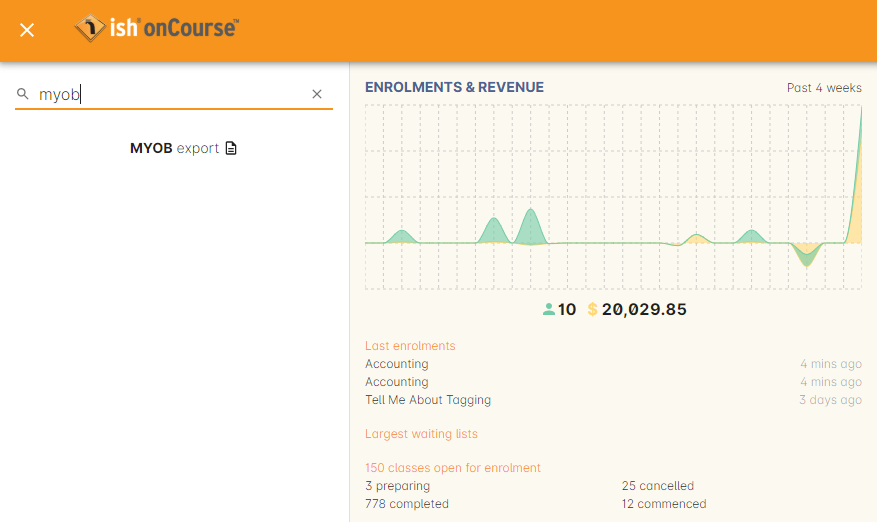
Figure 343. Selecting MYOB Export via Summary Extract menu
-
Set the 'from' and 'to' date range for the next MYOB Export
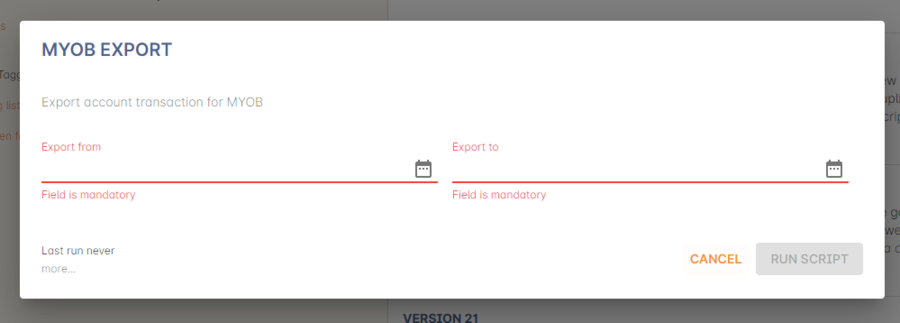
Figure 344. Select date range for MYOB Export
The benefit of utilizing the Summary Extract path when exporting financial data, is that onCourse enables you to set the date range for the data that is to be exported. As well as remembering the date up to when the last data export was run.
-
Click on the
Run Scriptbutton to run the export. Note that the resulting file will be generated as a CSV file.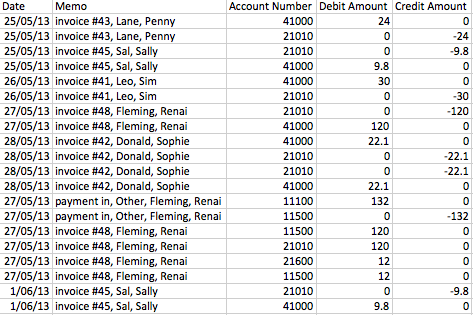
Figure 345. Extract of MYOB Export viewed via Microsoft Excel
Generating a MYOB Export via the Transaction Window
Unlike the approach of generating the MYOB Export via the Summary Extract menu of onCourse, by running the export via the Transactions window, you can define exactly which transactions you wish to export to the resulting text file. The steps involved in running this export via the Transactions window are as follows:
- Filter and highlight the transaction records you wish to export within the Transaction window
- Click the Share button, then select 'Excel'.
- Select the 'Account Transaction MYOB export' export
- Click
Share. The resulting file will be generated as a CSV file.
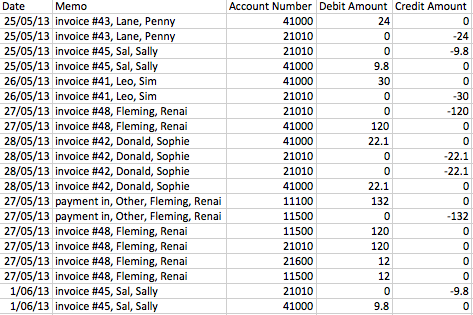
Figure 346. Extract of MYOB Export viewed via Microsoft Excel
Updated over 1 year ago
