Creating Custom Timetable Filters
You can apply custom filters to the timetable utilising the onCourse advanced query language, which you can learn about in more detail in our search chapter.

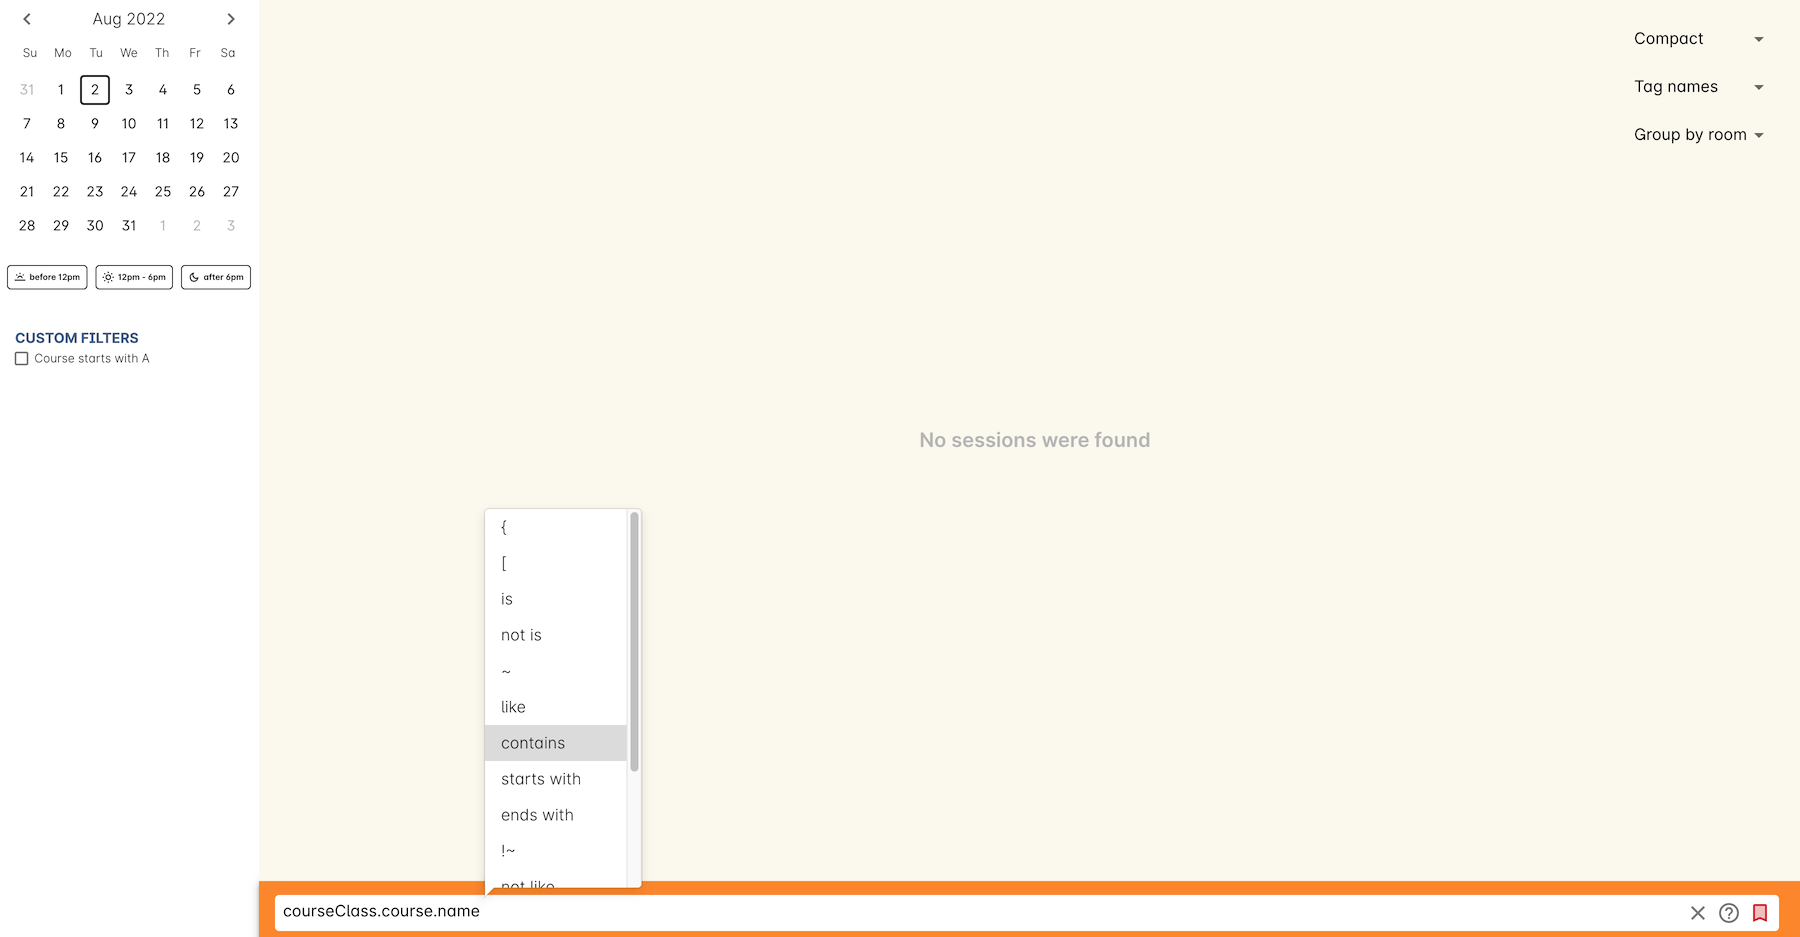
Figure 375. Creating a filter is easy thanks to the drop-down selections for each entity
One example of a simple filter would be if you wanted to see when all your courses with Music in the name are on, you would select , then adding the following AQL code:
courseClass.course.name contains "Music"
AQL uses pre-selectable options to choose from, which makes creating filters like this, or even far more complex ones, very simple.
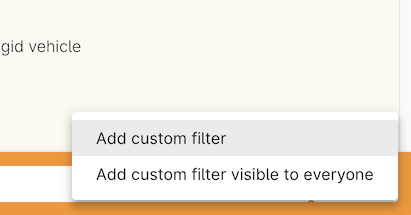
You can save any custom filter you create by clicking the sliders icon at the end of the search box. You can save it so it’s visible for everyone, or just for you.

Figure 376. Choose whether to save a filter just for you, or for every user of your system
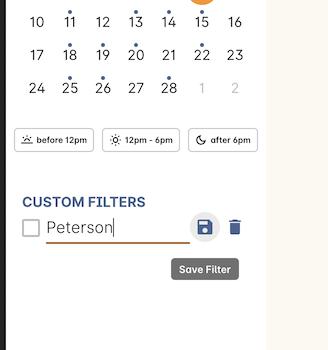
When you choose that, the filter will appear in the panel on the left with a bank name field. Enter your name, then click the Save icon and the filter will be saved for you to recall at any time.

Figure 377. Give your filter a name, then click the Save icon
Updated over 1 year ago
