List View
onCourse’s list views appear when you open a window. For example, if you click on Classes on the home screen a list view will be opened showing a list of the current classes in onCourse.
By default, this list is filtered to hide classes that are completed or cancelled. You can change this using the core filters on the left.
List views will display columns relevant to the window you’ve opened. Select a record by clicking on it, or select multiple records by holding shift (or cmd on Mac) and clicking on each.
Add new records by clicking the + button.
Column size can be adjusted by clicking and dragging the edges of a column from side to side. You can also customise the columns that appear by clicking the 'eye' icon and selecting your preferred columns.
Filters can be applied in the left-side column. Learn more about creating filters using tags in our Tagging chapter.
You can sort columns by clicking their header. You can sort by multiple columns by holding down the shift key and clicking each column. The sort will prioritise based on the order of the columns you click. List views offer a two-column and three-column view.
You can also sort the tag groups in the left column by clicking and dragging the group heading and moving it up or down the column, then dropping it in the position you want.
The three-column view will give you a detailed look at a specific record, while the two-column view will give you a better overview of more data.
Advanced Search will let you find records using a combination of conditions. You can learn more about Advanced Query Language (AQL).
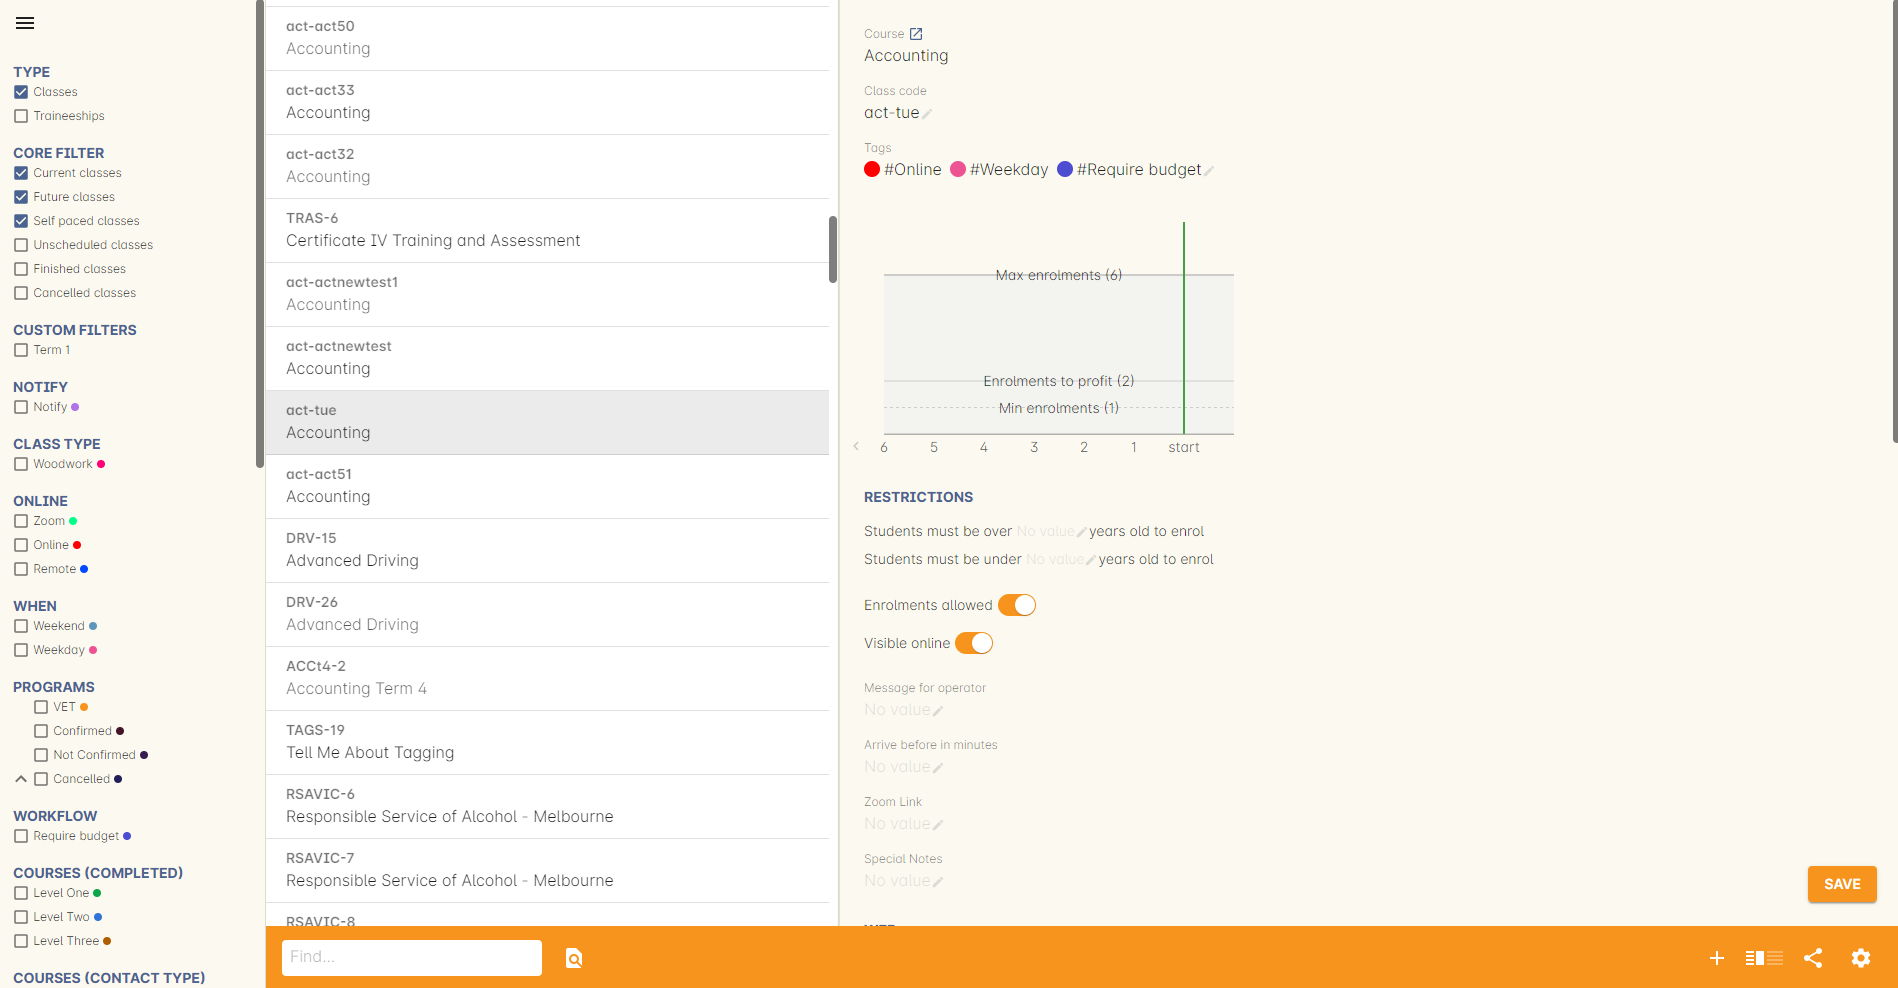
Figure 16. The Classes page using a three-column view
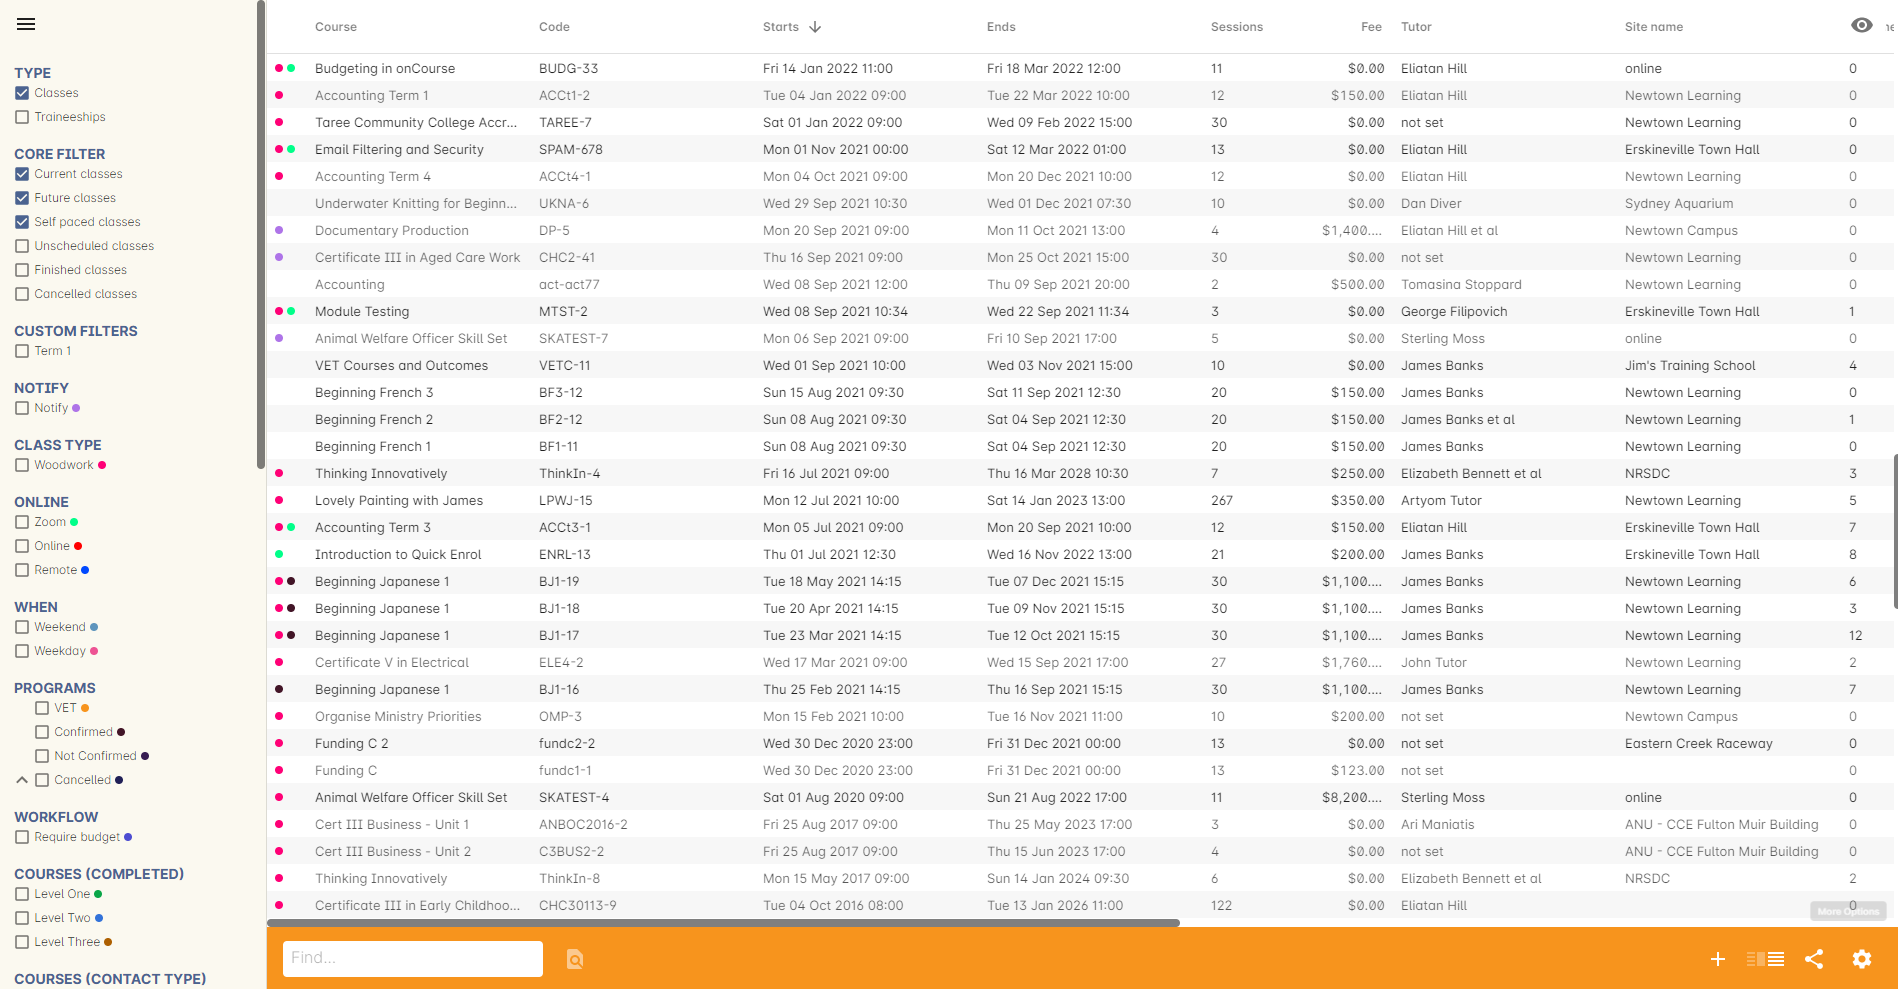
Figure 17. The Classes page using a two-column view
Within the two-column view you can customise the columns visible to you by clicking the eye icon that appears, and then selecting the columns you want to be visible.
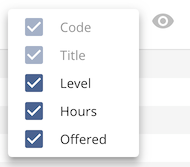
Figure 18. The column select pop-up visible in the two-column view.
Help icon
This circular question mark icon can be found all throughout onCourse, and when clicked, will give you the choice of opening up the user manual to the relevant location, or to view the audit logs.

Figure 19. The help icon
Searching in List Views
Advanced and simple searches are also available from the list view, and all record printing or exporting happens from the list view. You can learn more about Searching here.
Adding and removing records in List View
The list view is also where you can add and delete records. On most list views, you will see a plus + to create records. Click on the plus symbol to create a new record and fill out the fields and options fulfill the criteria needed for that particular record.
To delete a record, highlight the record you want to remove, click on the cogwheel, and select 'Delete record'.
Some records in onCourse cannot be deleted because they have formed relationships with other onCourse records, and it doesn’t make sense to be allowed to delete half of a record relationship. E.G. if you try to delete a class with one or more enrolments in it (even if those enrolments have been cancelled), you will get a message like the one below. In this instance, you would need to cancel the class instead of deleting it.
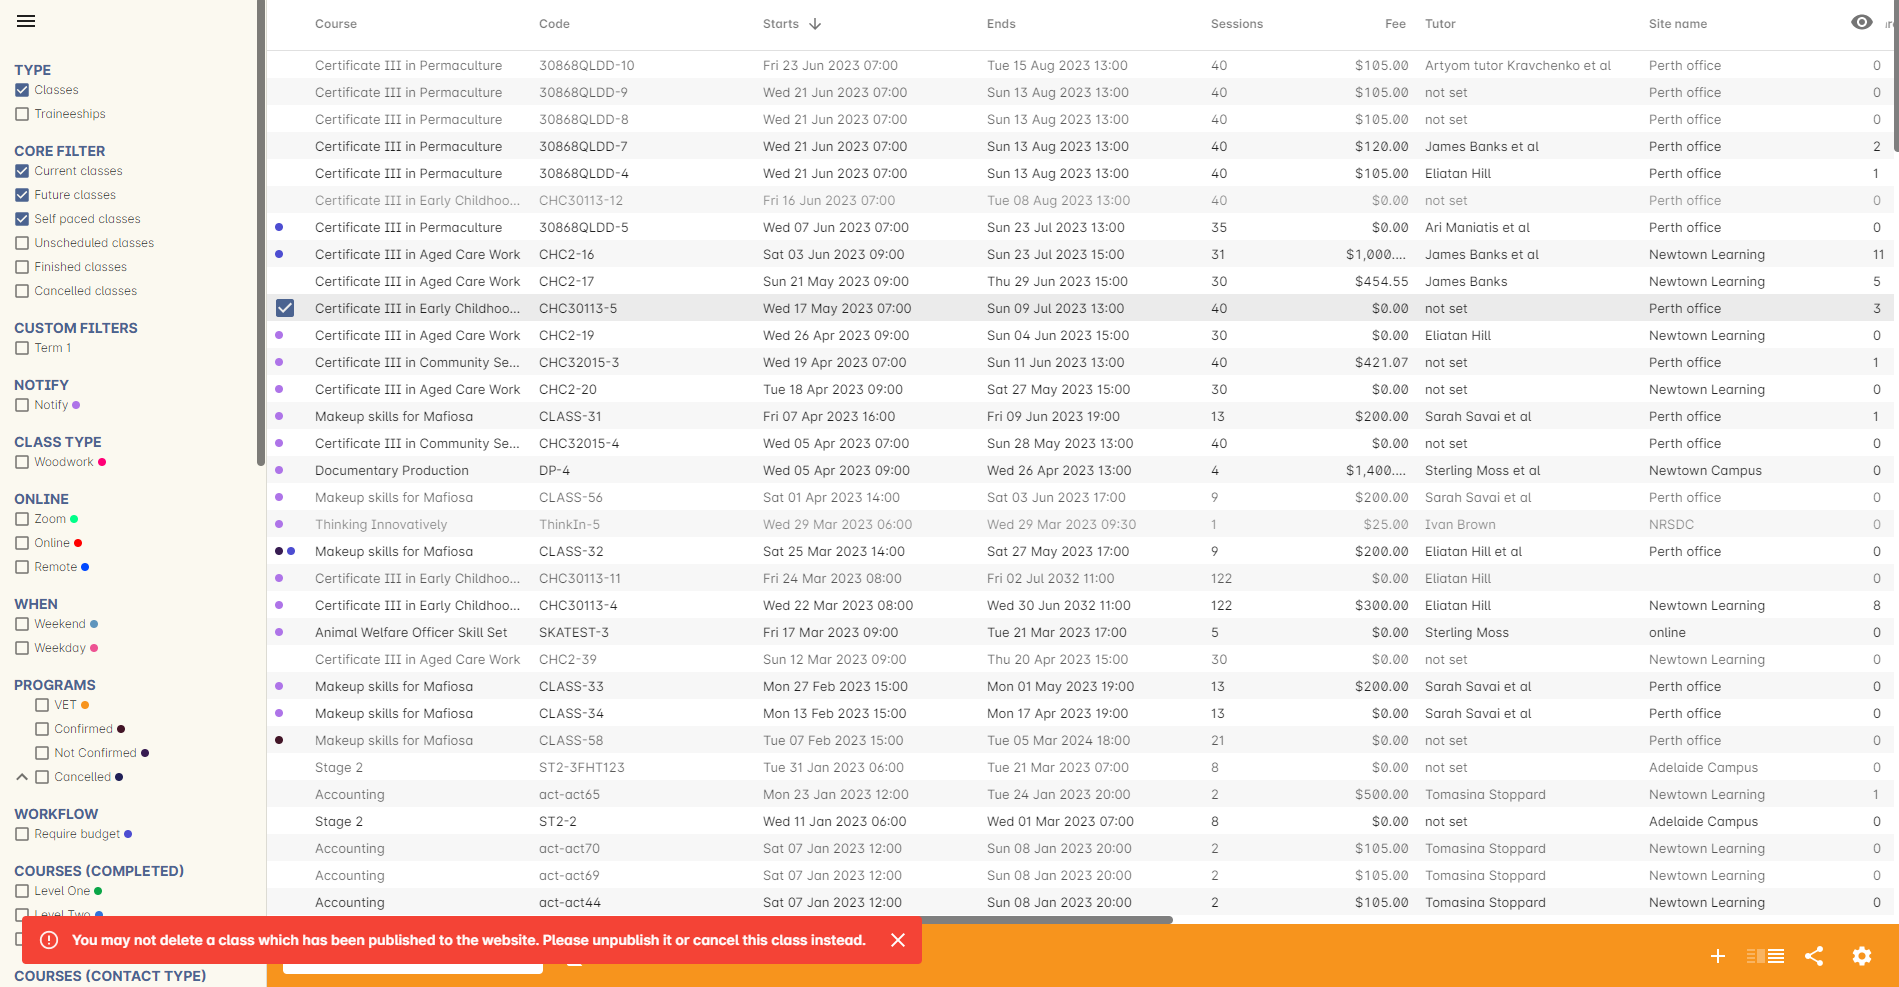
Figure 20. Trying to remove a class with an enrolment
However, if you tried to delete a class without any enrolments, you will see a message like the one below. Once you select 'delete' the record will be permanently removed from the database.
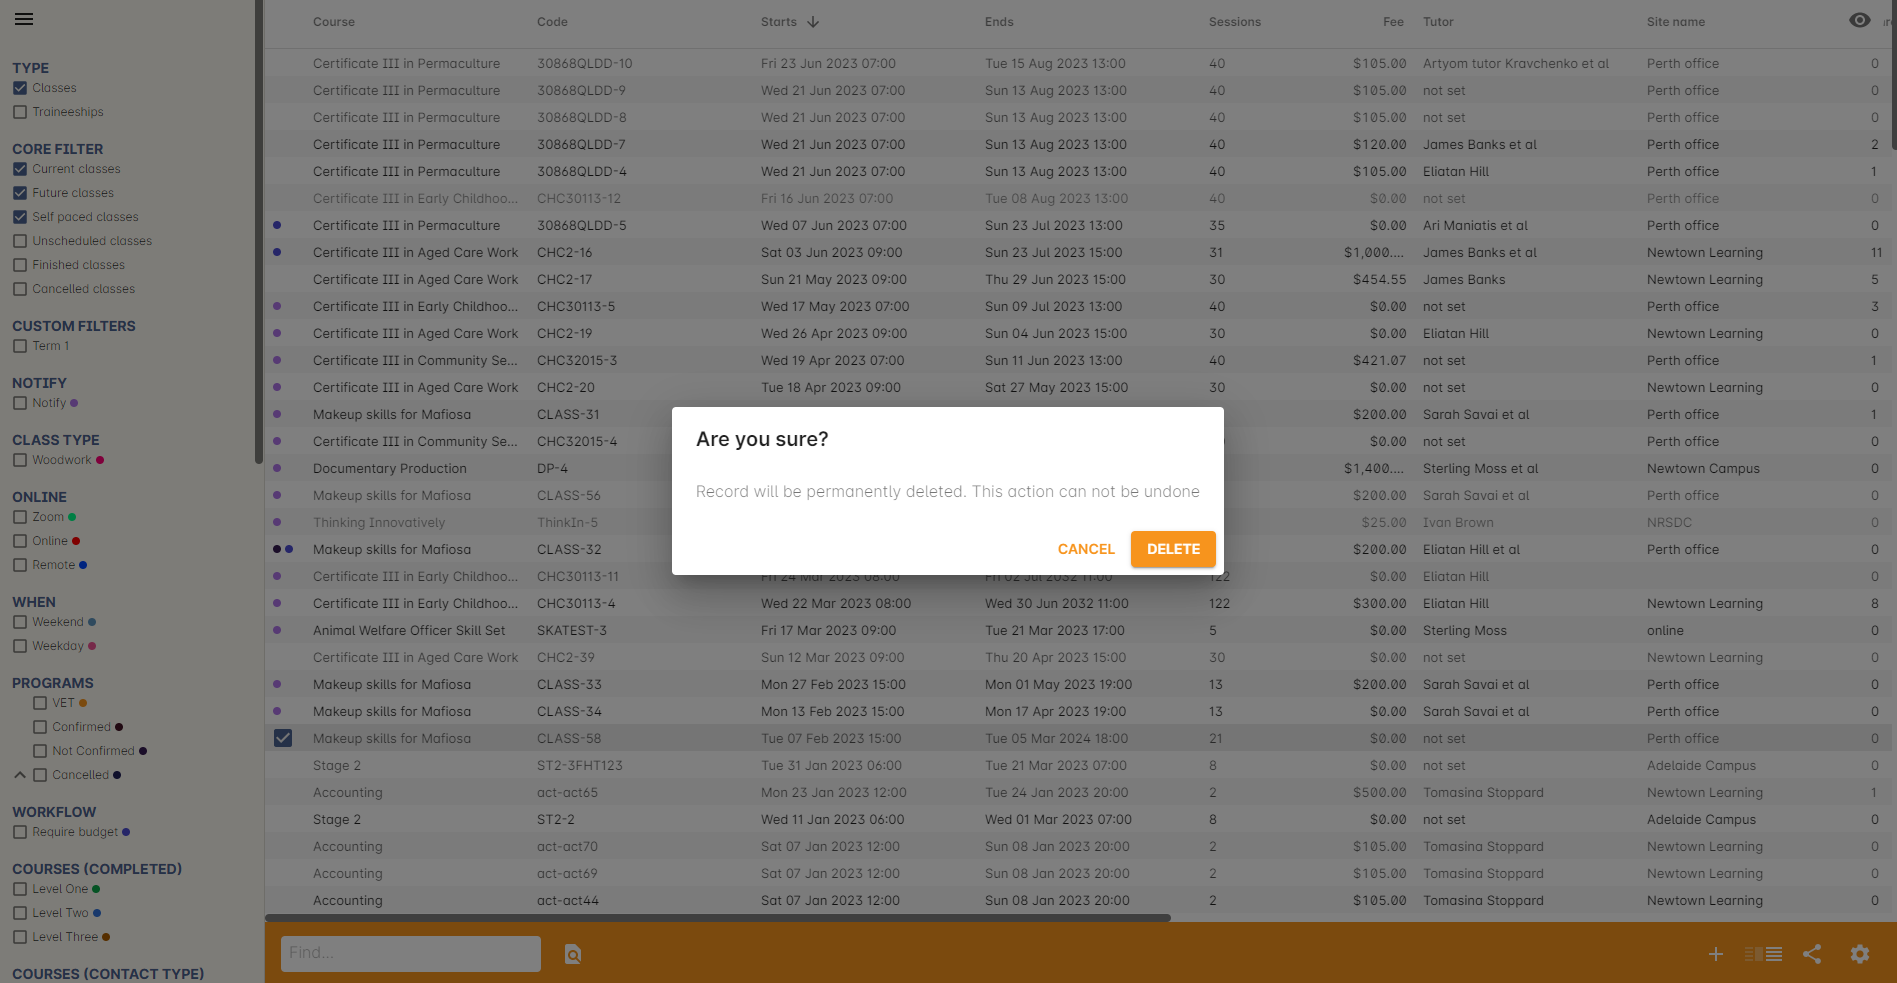
Figure 21. Trying to remove a class with no enrolments
Updated over 1 year ago
