Editing Content
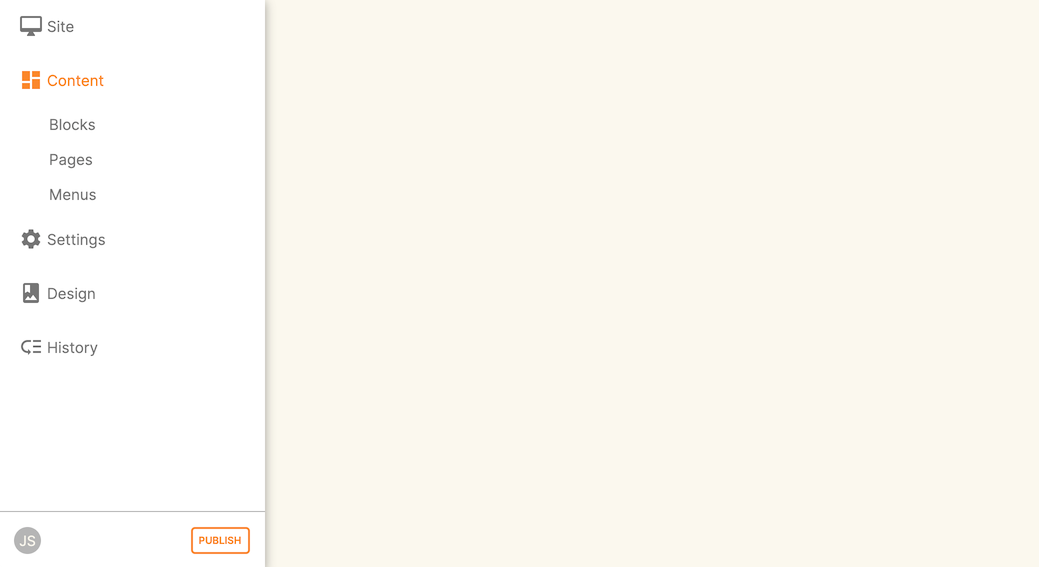
Click the Content icon to see the editor for Blocks, Pages and Themes. These three components make up the structure of the website.
You can add content to Blocks and Pages using one of three different markup styles that you can set per block/page; Rich (markdown), html or 'legacy', which is our older-style of textile markup. We recommend using the Rich mode for ease of use, and for the fact that it alows the use of markdown and most html. With a suitably skilled web designer you could take your website a long way.
Blocks
Blocks are re-usable snippets of text, pictures, markup, etc. If you wanted to add a banner on every page of your website, or an area on different pages dedicated to a contact form, blocks are ideal. Even if you only use them once, they are a convenient way to break apart complicated pages into easy to edit pieces.
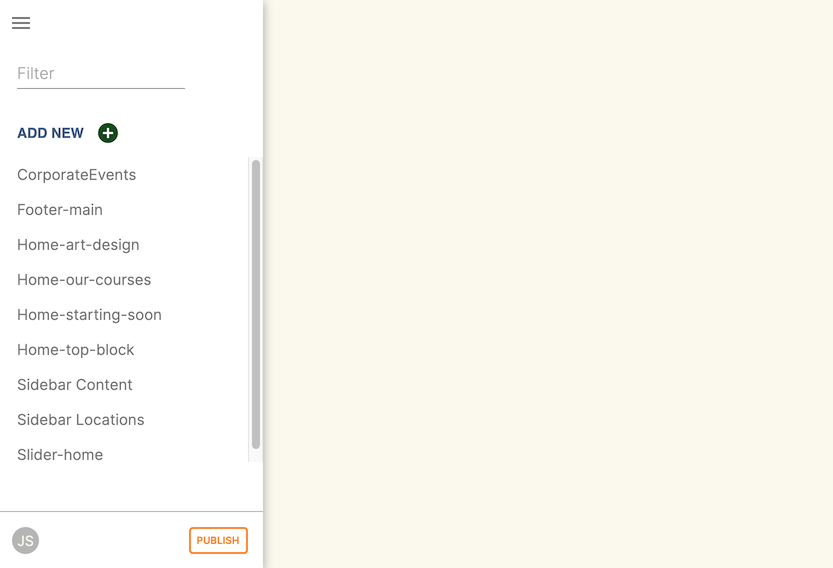
The Blocks page allows you to easily add,search and edit blocks.
Editing a block
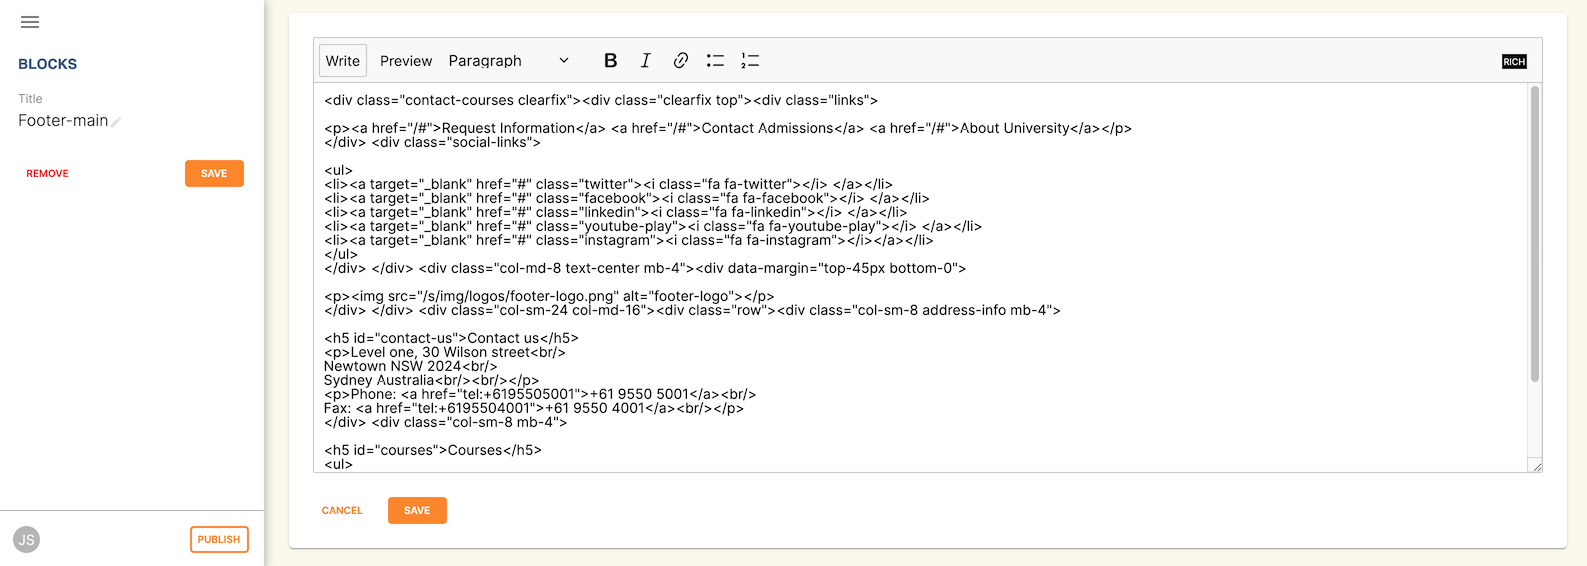
Selecting a block takes you to the Editor page for that specific block. Here, you can change the name of the block and edit the contents. On the right-hand side of the screen you see a preview of what the block will look like on your website.
Click on the block contents to open the block in a text editor view. Here you can set the style of markup to use using the drop-down box in the top right. Enter your markup and content to be added to the block and click save. This closes the text editor and renders your changes for you to review.
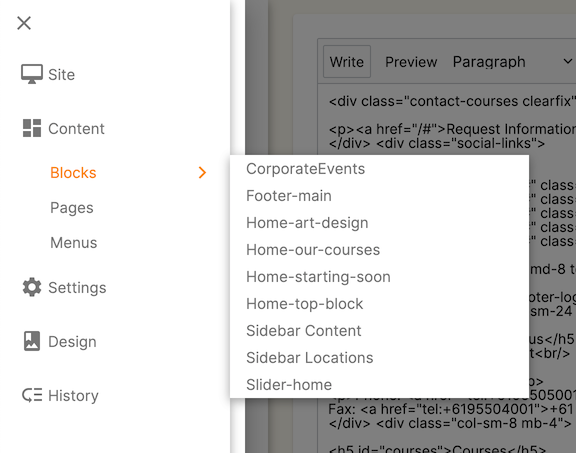
You can navigate back to the Blocks page by clicking the burger menu icon in the top-left corner of the window, and by clicking Blocks again. You can also navigate directly to a block by hovering your mouse over the Blocks sectiona nd selecting a bock from the list that appears.
Creating a new block
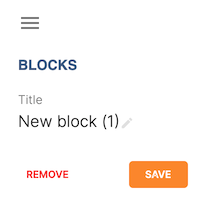
You can create a new Block from the Block view by clicking on 'ADD NEW'. You will have to give your new block a name in the 'Title' field, as well as some content/markup. Remember that if you’re editing an existing block, renaming it might break it in places you have embedded that block elsewhere.
Once you are happy with your new block, save it by hitting the blue 'SAVE' button. If you wish to discard the new block, hit the red 'REMOVE' button.
Pages
Many pages on your website are automatically generated from onCourse. These pages include:
- /courses
- /courses/arts/photography
- /course/ABC
- /sites
- /tutor/123
- /site/234
- /checkout
Pages not automatically generated from onCourse can be created in the Editor.
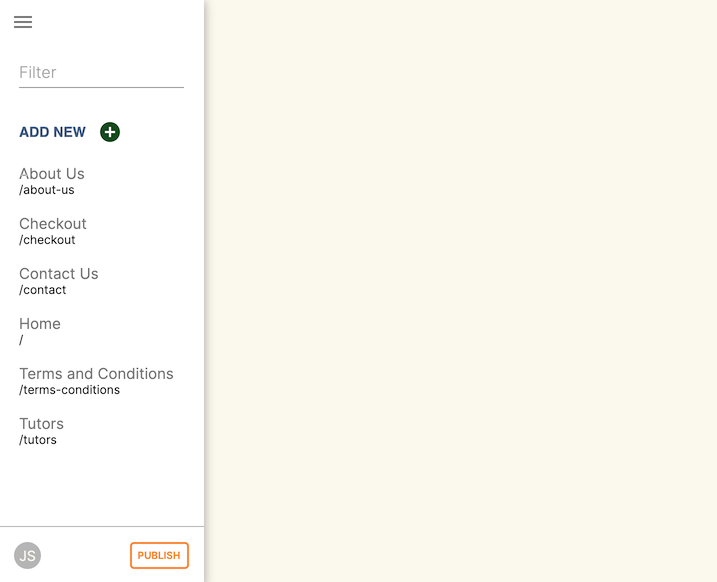
The Pages view shows a list of all the static pages in your website and gives you quick access to search for, edit and delete pages.
Similar to the Block view, clicking on a Page will open text editor.
Editing existing pages
From the Content menu, select Pages to get a list of all static pages on your site.
When a specific page is selected the editor allows you to change the theme that is applied to this page, the page name, as well as editing the content. You can also select whether any given page is 'visible'. The page title will be visible in the window title of the user’s browser. Every page will be given an automatic URL like /page/5 however you may wish to give it an easier to use URLs like /terms or /about/contact-us. You can even give a page multiple URLs which will all work to display the same page to the user. Only one of the pages will be 'canonical', and the others will redirect to it.
You can also select to have a page omitted from the site map. Hiding a page from the sitemap will make it invisible to web crawlers and search engines.
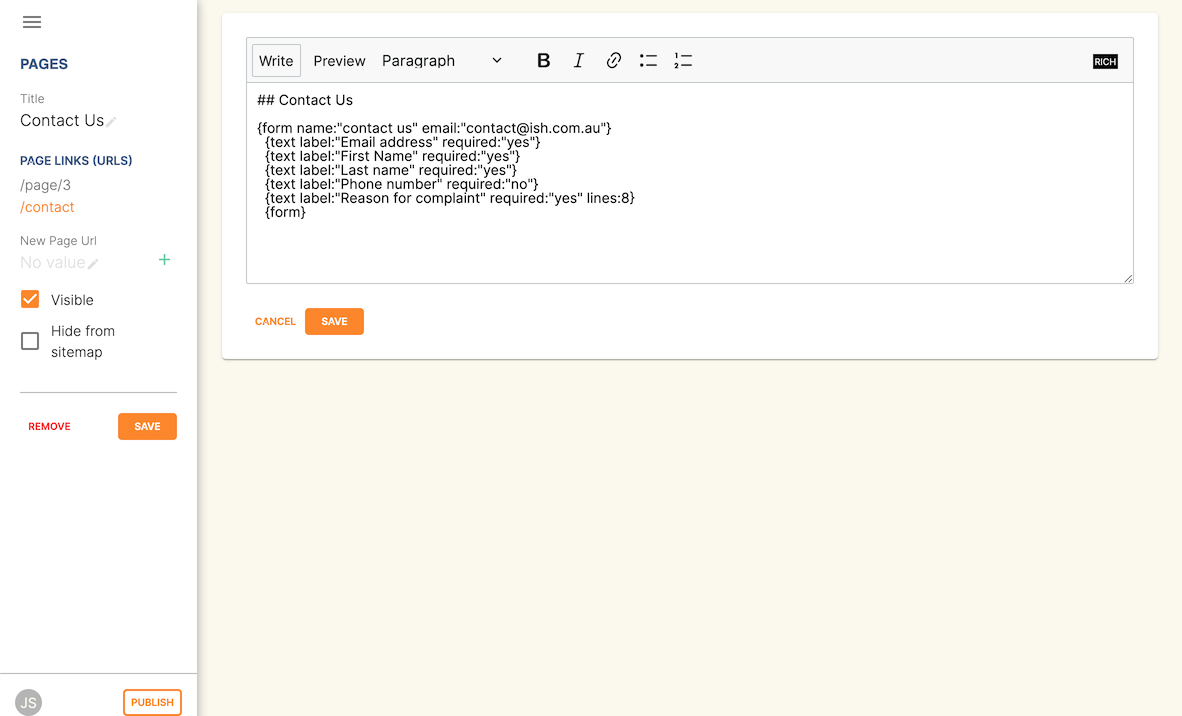
The text fields are versatile in that they will let you select one of three markup varieties to work with; rich text (based on Markdown), legacy (textile-based rich text markup used by onCourse in the past) and advanced (html), for when you just want onCourse to get out of your way and let you type things out in HTML.
The Rich Text mode has a built-in visual editor that makes it very easy for all users to enter content. You can use the Write view to enter pure markup, or use Preview to see the correct formatting while you type.
You can learn more about the different types of markup modes, particularly rich text and legacy modes, in our Markup chapter.
Create new pages
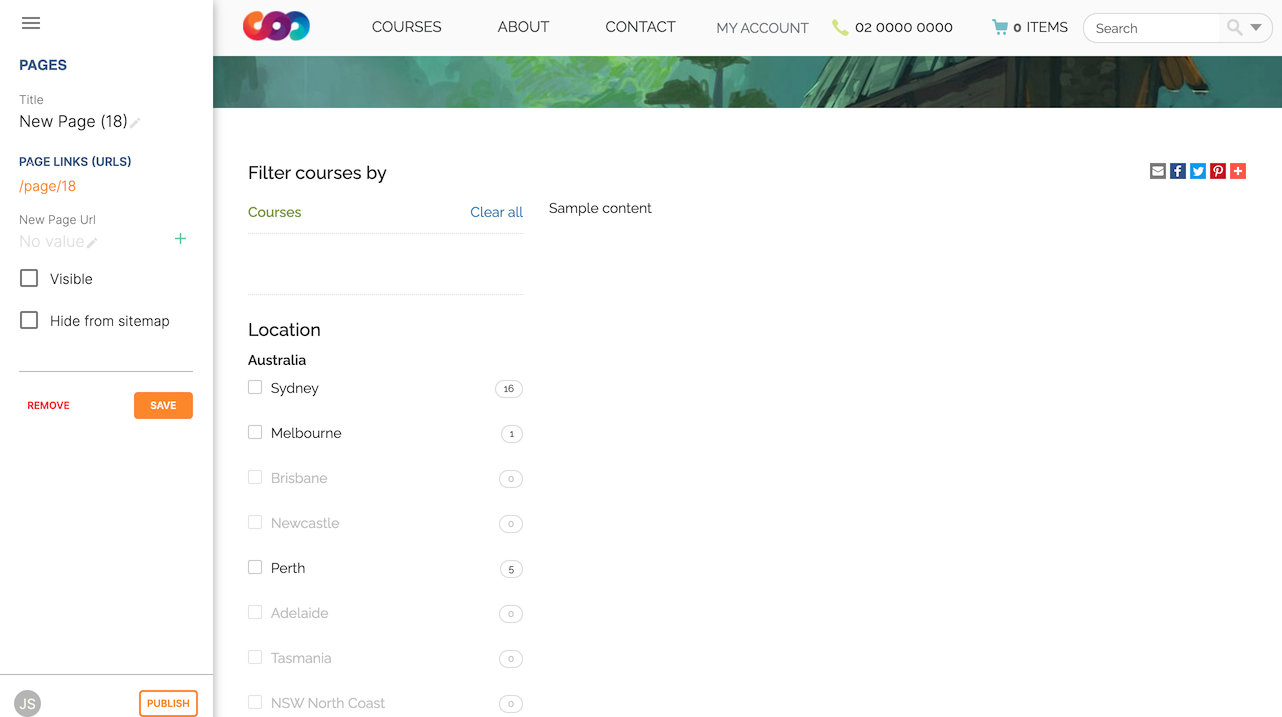
Click the 'ADD NEW' button to create a new blank page. Here you can edit the pages Title, the pages URL as well as the theme that is applied to this page. You can also toggle if the new page is visible.
Clicking the 'Sample content' will open the page in the text editor to be edited. You can select the markup style to be used on the page in the drop-down box in te top-right.
Once you have finished creating your new page, you will have to save it by hitting the blue 'SAVE' button or discard your changes by the red 'REMOVE' button.
Menus
From the Content view, the primary header navigation can be edited from 'Menus'.
Most websites have a primary navigation menu which users will use to find their way around. In Menu’s you can add new menu items, and link them to particular pages or external URLs.
Edit an existing menu item
Click on a menu name to edit it. The menu name is as shown on your website.
Click, hold and drag the menu items into a different order or nest them within other menu items.
Click to edit the URL, that is, the page to which the menu links. Ensure this matches the page name exactly. If it doens’t, it won’t work as you expect.
Menus exist in a hierarchy. Clicking, holding and drag a menu item to reorder the menu. Clicking and dragging a menu item on top of, and to the right of another will nest the menu item and make it a submenu item.
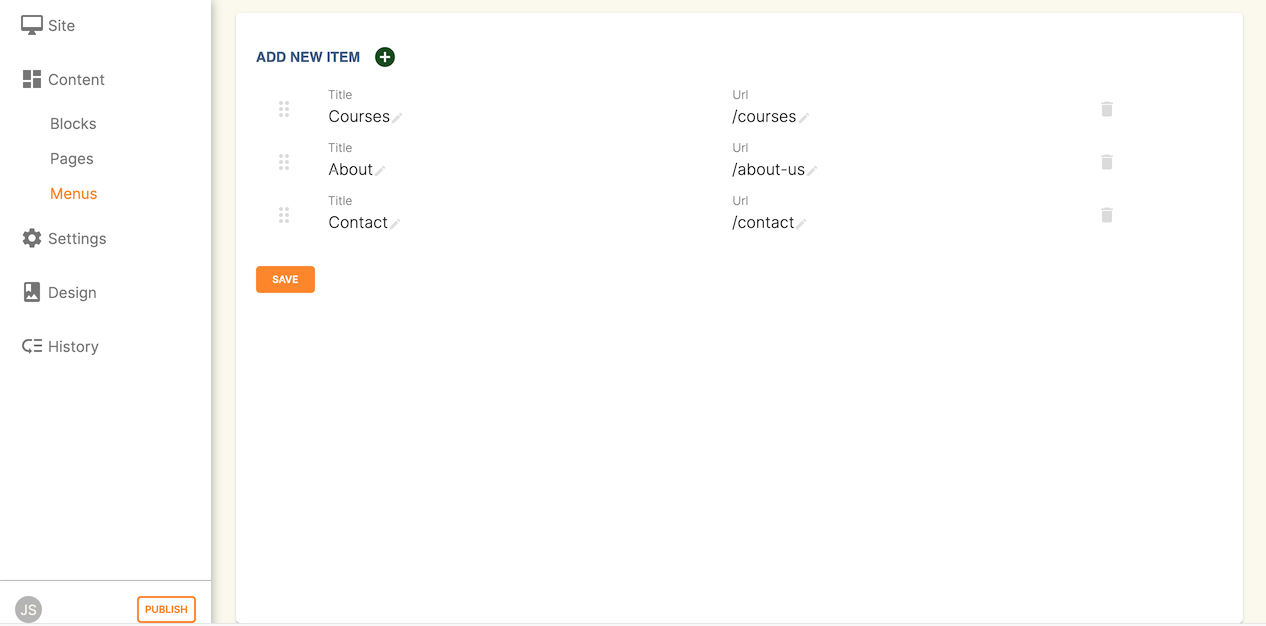
Add a new menu item
Clicking 'ADD NEW ITEM' will create a new menu item with no URL. This menu item will appear as the top menu level and will not link to any page.
A menu item can be deleted by clicking the red 'REMOVE' button to the right of each menu item.
Once you are happy with your changes, you can save them by clicking the blue 'SAVE' button.
Updated over 1 year ago
