onCourse Login with Two Factor Authentication
Two factor authentication (2FA) is an added layer of security for users accessing onCourse cloud instances, in particular, but also useful for locally hosted onCourse servers with VPN access enabled.
At every login attempt you will be encouraged to enable 2FA, and only once it has been enabled will this warning stop.
This can be ignored by clicking 'Maybe Later'.
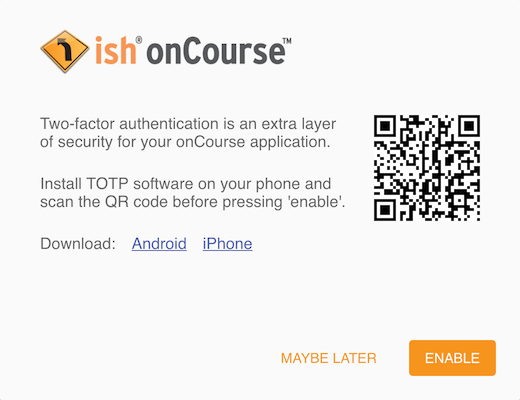
Figure 40. Login window suggesting the implementation of 2FA
2FA means that there are two 'secrets' a user needs to know to successfully log in to your onCourse application. One secret is the password set for the user account. The second 'secret' is a code that requires a device such as a smart phone with a TOTP (time-based one time password) application such as Google Authenticator installed, with an account linked to the onCourse user account. This service generates a unique code every 30 seconds. To login successfully you will need both the user password and a current token.
When 2FA is enabled, after initial login there is a third field that asks for the 6 digit code provided by your TOTP application. If you try to log in with the wrong Token or Password, then you will get an error message saying 'Authentication failed' and you should get an admin user to disable 2FA in order to regain access to your account. You can re-enable 2FA once you’ve regained access.
Enabling two factor authentication
To enable 2FA, simply click 'Enable' when prompted at the login window.
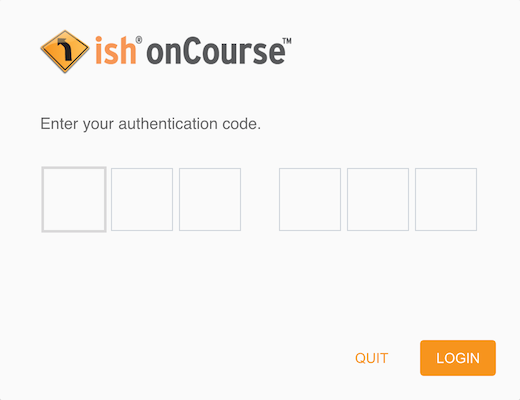
Figure 41. Window you see to input your 2FA code
Have your mobile phone handy while you do this as you will need to install the TOTP software as the first part of the process. Search for 'Google Authenticator' in your phone’s app store and install it.
When you first run the Authenticator app and click 'Begin setup' you may also be asked to install a QR code reader if you don’t already have one. You do not have to do this, as you can choose to manually add an account by selecting 'Enter provided key', however there is less chance of data entry error if you scan the code.
The account name you create in Google Authenticator can be anything you like, such as "My onCourse login". It does not have to match the name of your onCourse user.
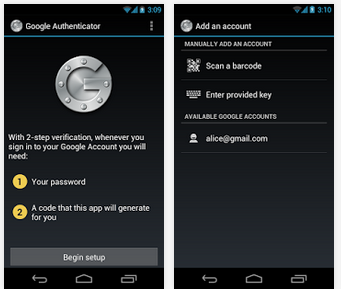
Figure 42. Install Google Authenticator on your smart phone
You will be shown a six-digit code hat will change every 30 seconds. Enter this code into the authentication code field in onCourse and click Login.
Disabling or resetting two-factor authentication
If a user has two-factor authentication enabled and they wish to disable it, in the Security preferences click on the User’s account name, then click 'Disable 2FA'.
A window will appear confirming you definitely want to disable this feature and explaining how to re-enable it. To confirm, click on the 'Disable' button.
You should follow this process if you have bought a new smart phone and need to set up Google Authenticator again.
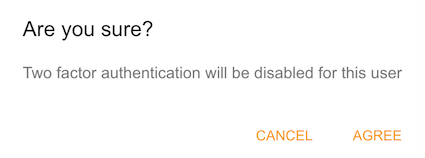
Figure 43. Message window you see when trying to disable your own two factor authentication
An admin user has the power to disable a users two-factor authentication if they have forgotten their mobile phone. You can do this by going to the Security window, double-clicking on the user you want to change, then clicking on the 'Disable 2FA'.
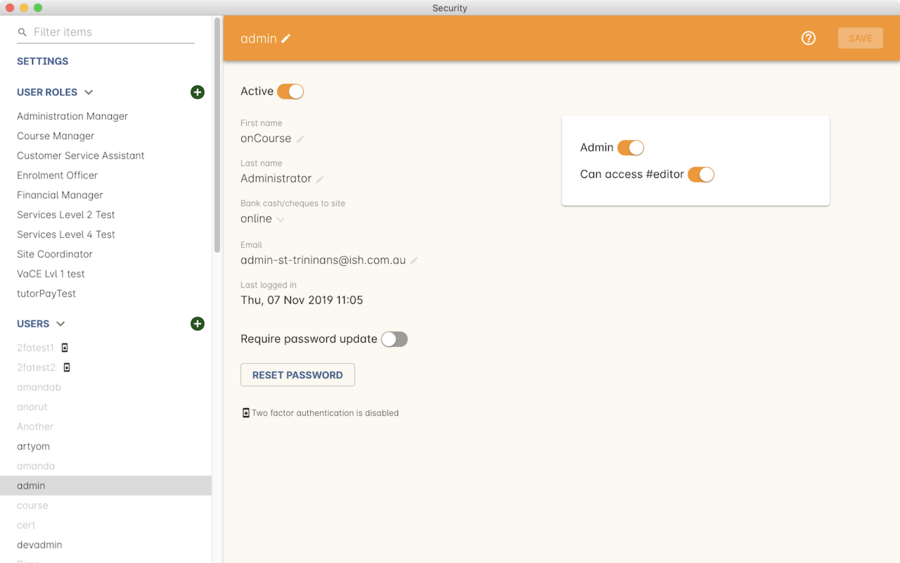
Figure 44. User edit view window
Only the user can enable their own two-factor authentication.
An admin user can see a list of all users that have this feature enabled in the Security window by looking at the User accounts listed under 'Users'. Any user with 2FA enabled will have a small icon appear next to their name.
Updated over 1 year ago
