Tagging images
You have the ability to display a different hero image on each course detail page. These will appear on your website on any course detail pages e.g www.acme.com.au/course/accounting.

Tagged image displayed at the top of the Accounting course detail page
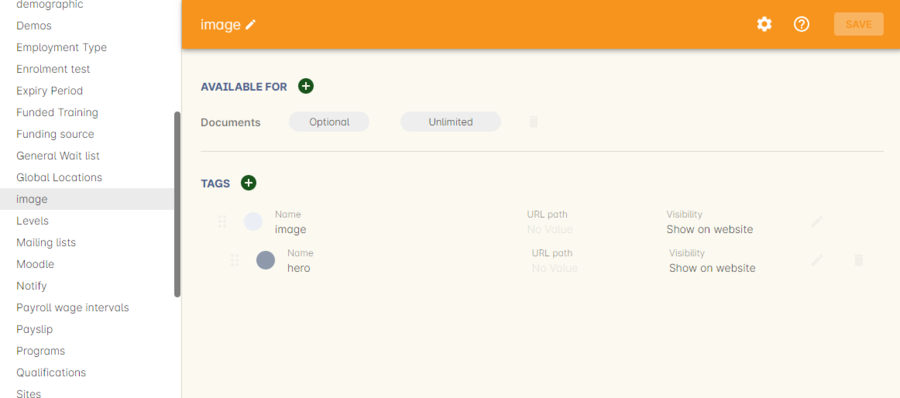
You would then create a new tag group called 'image' and a tag inside that group. Call that tag 'hero'.

Creating a new tag group called
Once you have created this tag group and tag the next step would be to upload the images you want to tag to the document management system.
Once you have done this you will have to tag each of these images with the 'hero' tag.
To enable this feature you will have to add the following code to the CourseItem.tml file :
<t:loop source="getAttachments(courseItemModel.course)" value="attachment">
	<t:if test="hasTag(attachment, 'image/hero')">
		<div t:type="ui/image" name="attachment.name" class="course-img" width="200" height="200"></div>
	</t:if>
</t:loop>
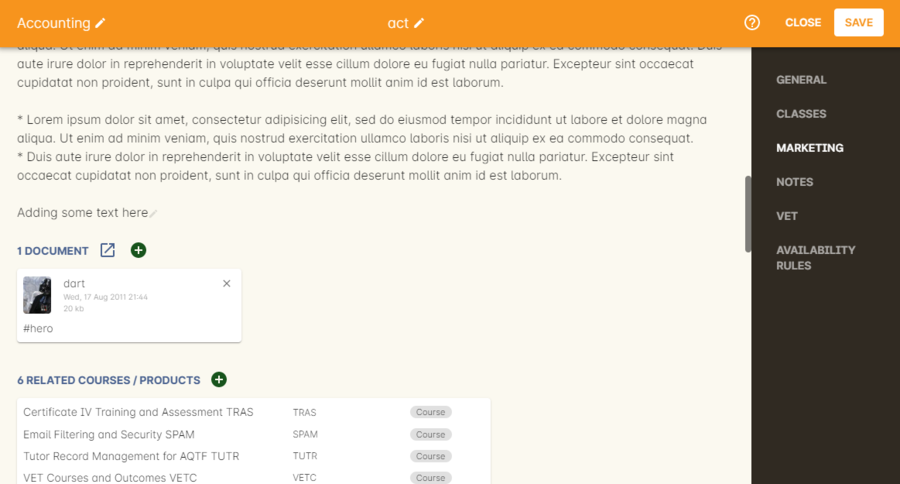
Lastly you would go into each course you want these images to be displayed and add the document to the course record. You do this by clicking the + button next to Documents heading and typing in the name of the image you’ve already added. If the image isn’t uploaded to onCourse yet, click Browse and search your local computer for it. Remember to make sure the pixel width and height is the same as the code in the CourseItem.tml then tag them to the tag 'hero' in the tag group 'image'.

Added the image
Updated over 1 year ago
