SurveyMonkey
SurveyMonkey allows you to create and publish online surveys in minutes, and view the results graphically in real time. SurveyMonkey provides free online questionnaire and survey software.
To add a SurveyMonkey integration you will need to click on the 'Add' button below the SurveyMonkey icon. You will then see a number of fields that are needed to enable the integration. The 'Name' field is what ever you want to call this integration.
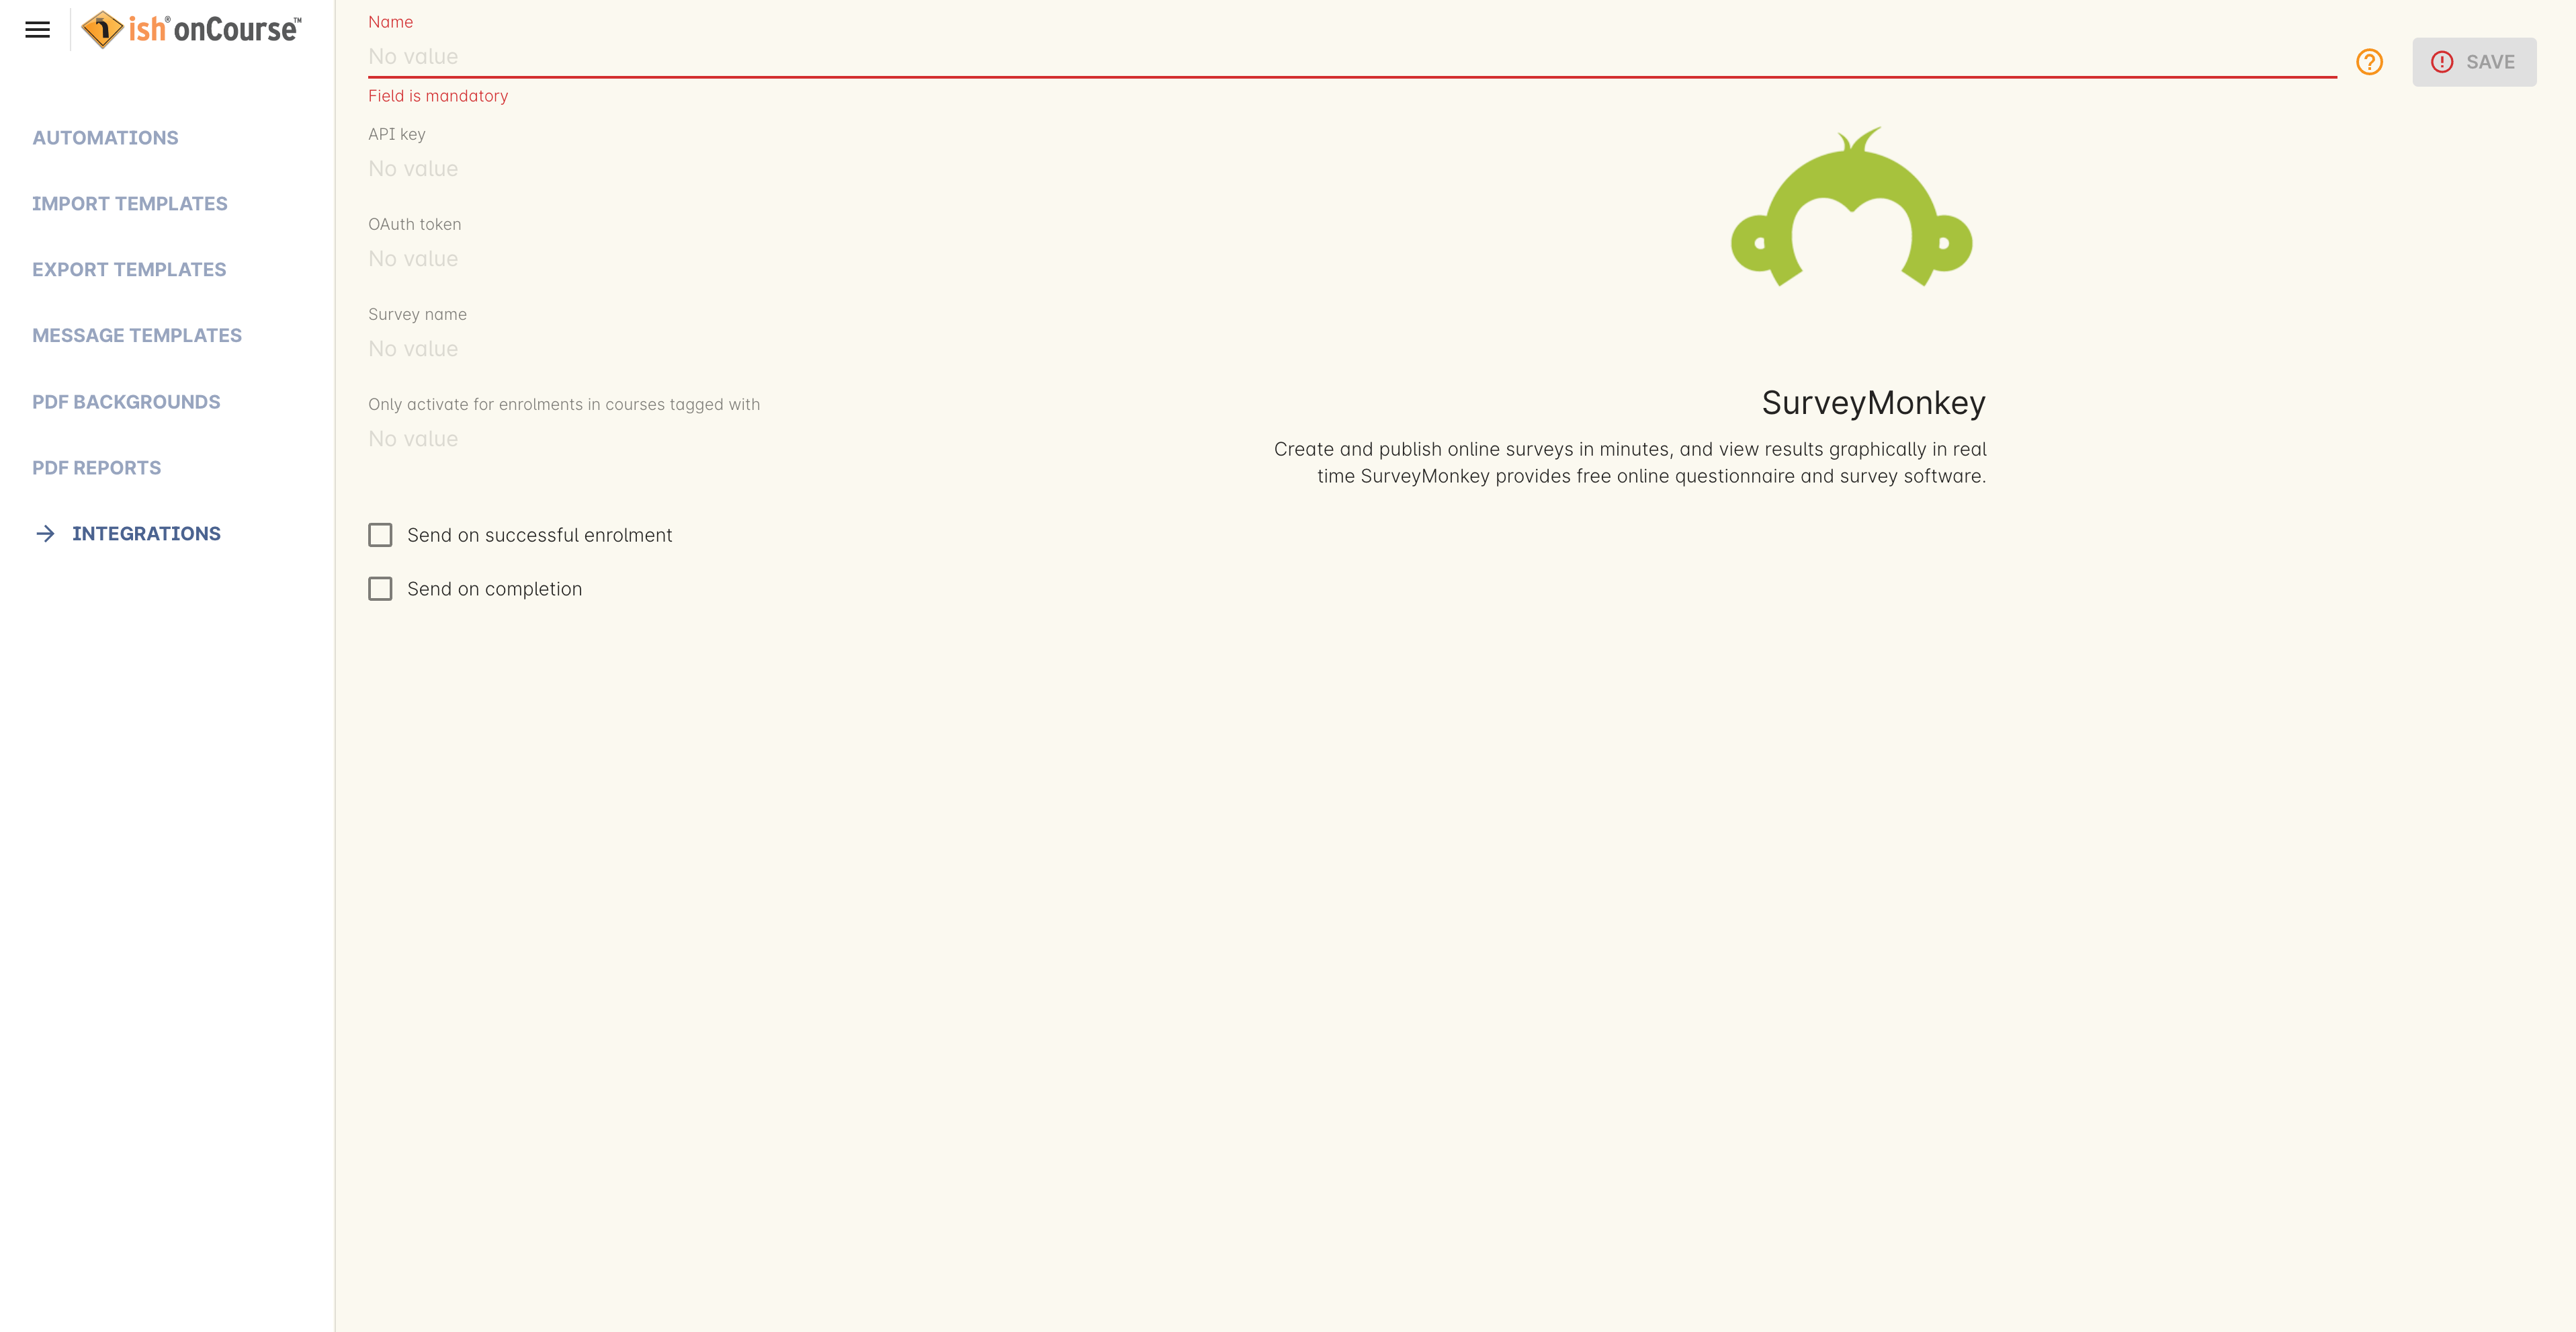
SurveyMonkey integration preferences
Once these preferences have been defined you will need to enable at least one of the SurveyMonkey scripts to automate the process. These scripts can be found by going to Automation and looking under Scripts, double-clicking on either 'SurveyMonkey send invite on enrolment', 'SurveyMonkey send invite on enrolment completion', or 'VET Course completion survey' clicking on the checkbox 'Enabled' and saving the script.
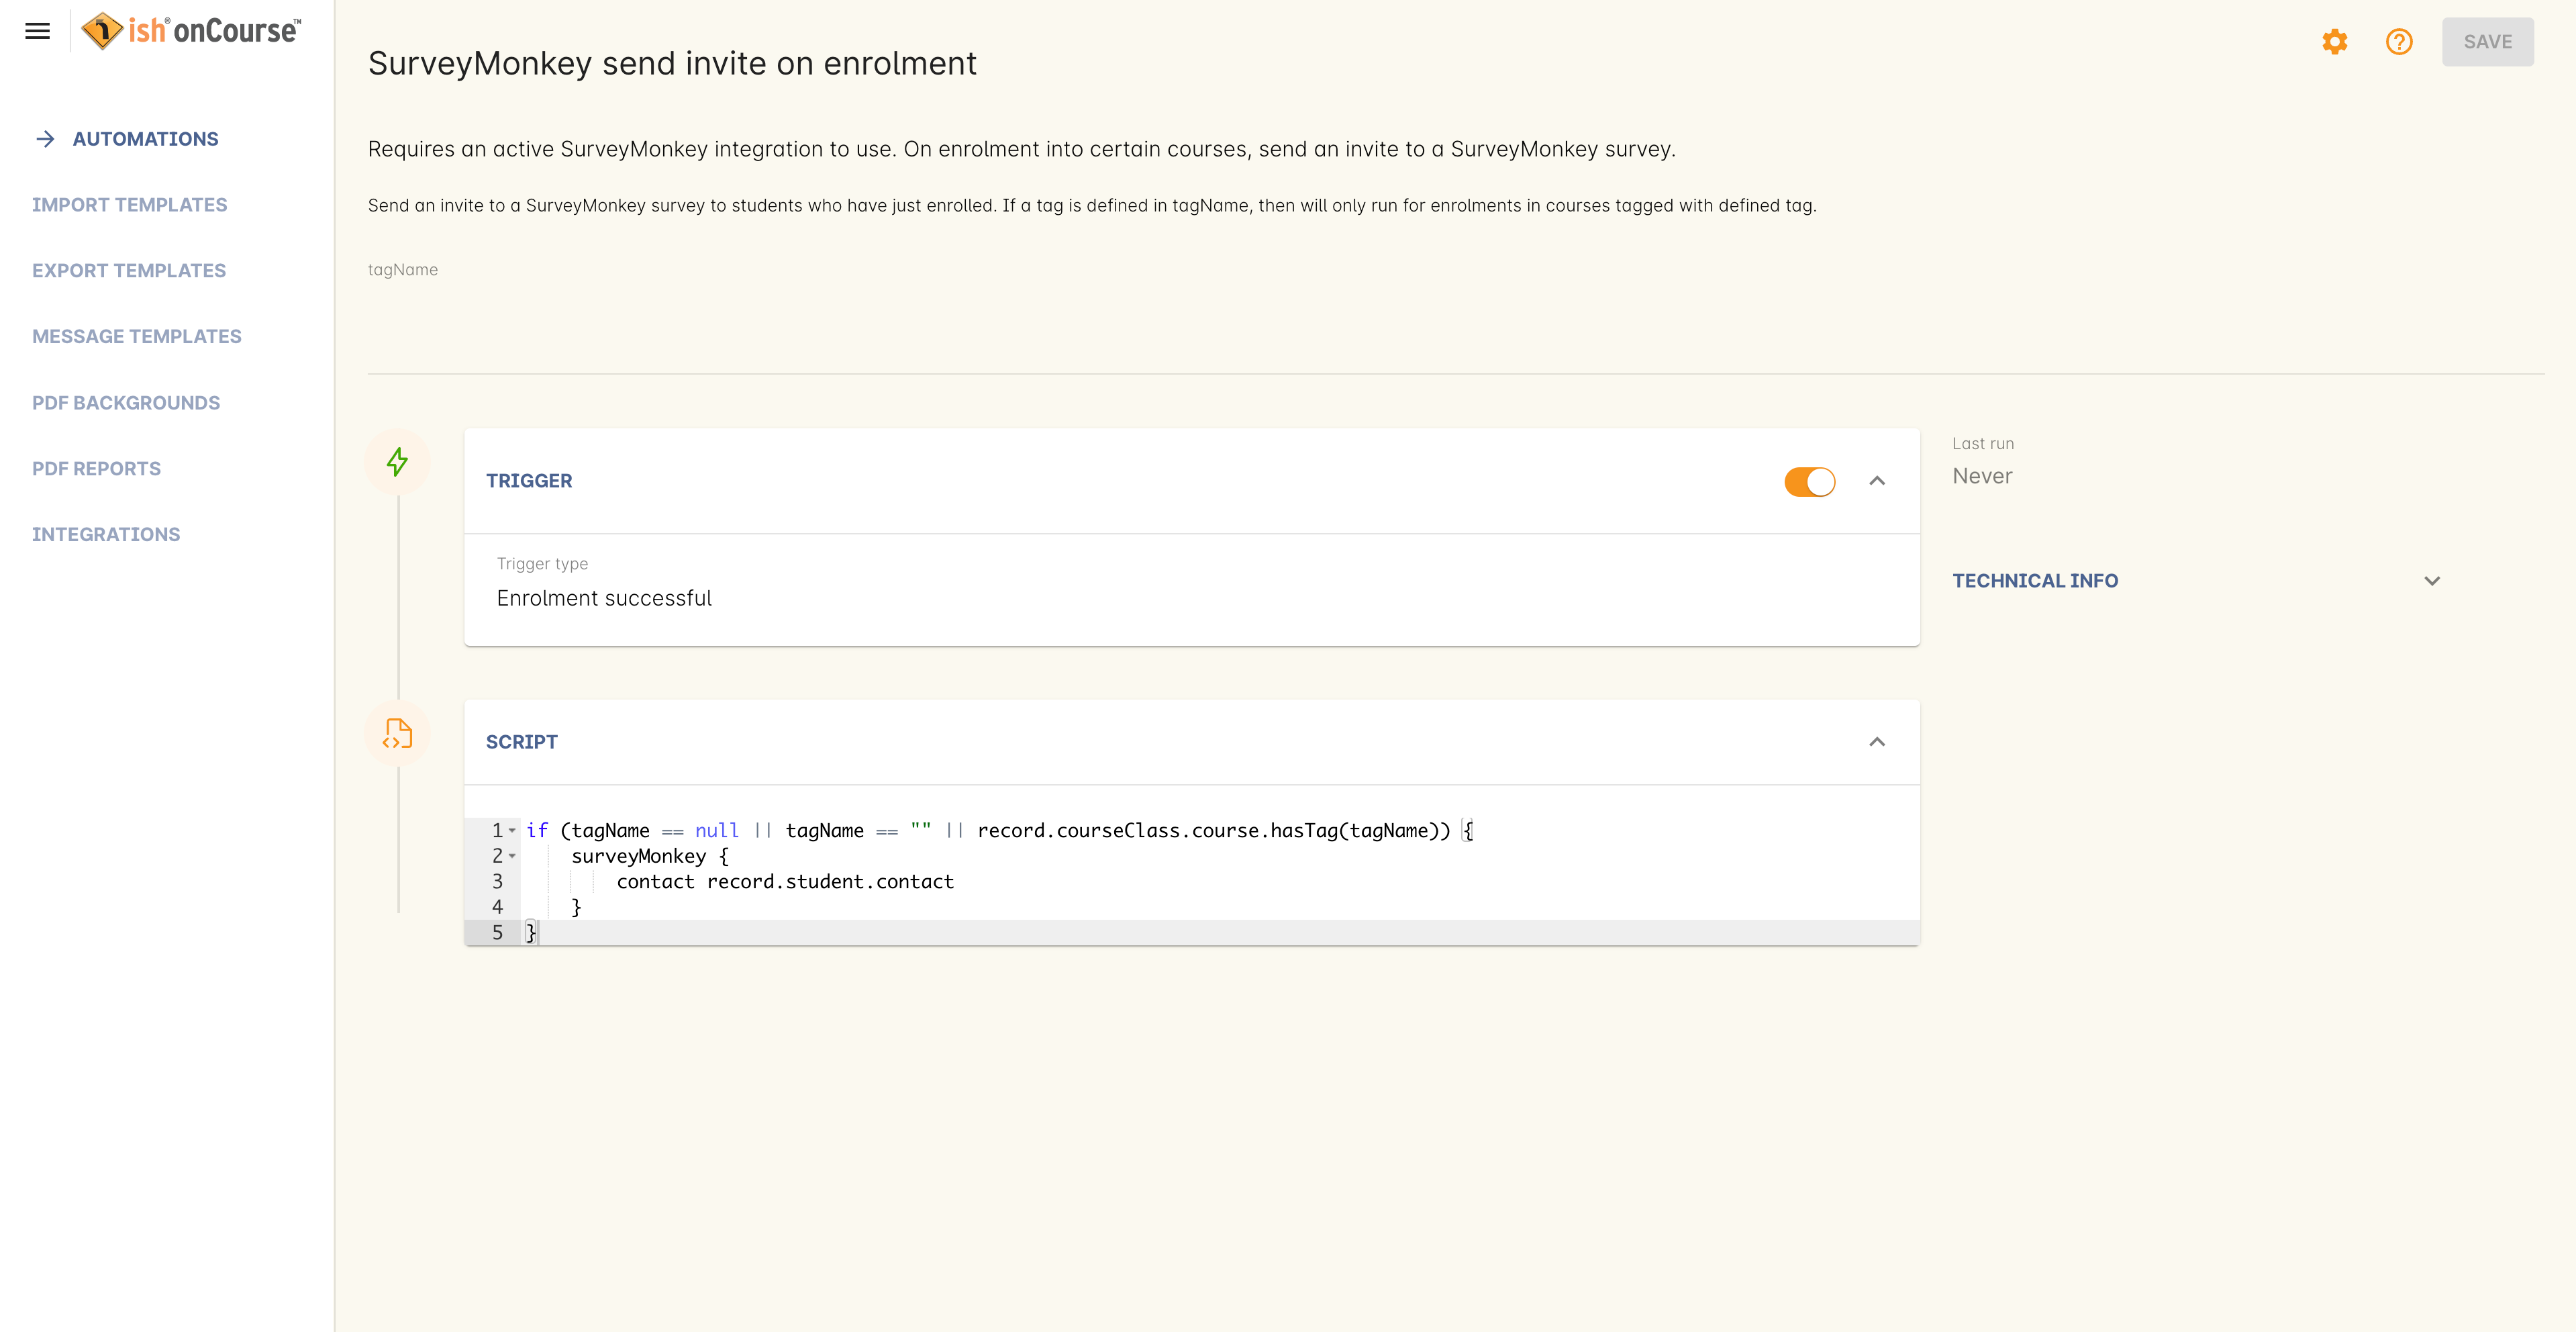
SurveyMonkey scripts
Access Tokens and Creating a developer account
Survey Monkey introduced access tokens as a means of integration in January 2017. All integrations created after that date will need to use access tokens. API Keys will not be used after this time. Existing integrations using an API key will continue to use the API key. To create an access token, you set up a developer account in SurveyMonkey and add onCourse as an App.
-
Log into the SurveyMonkey developer portal
-
Go to
My Appsand add a new app. -
In the App record, go to
Settings -> Scopesactivate the following three Scopes:-
Create/Modify Collectors
-
View Collectors
-
View Surveys
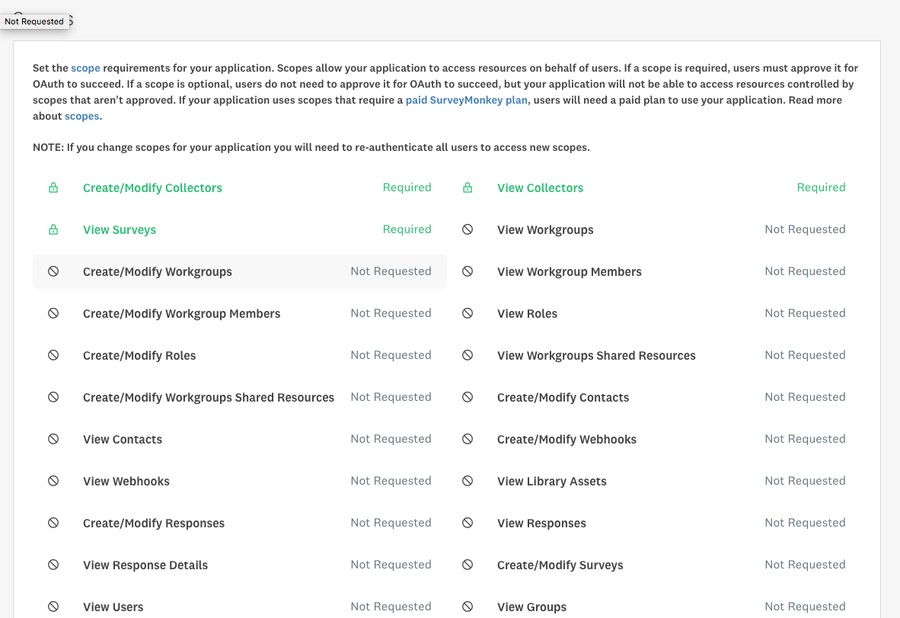
The required scopes in SurveyMonkey
-
-
Go to
Credentials -> Access Token. The Access token is the long string of numbers and letters. Copy this and paste it into the 'OAuth token' field within the SurveyMonkey Integration you’re setting up in onCourse.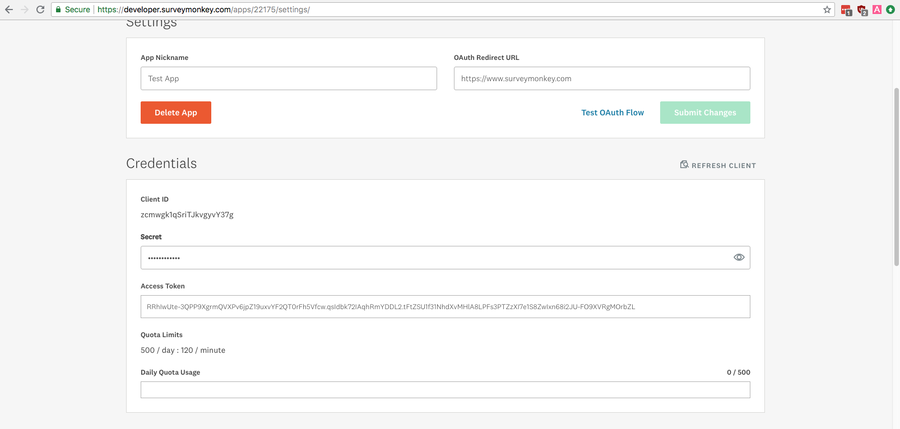
SurveyMonkey Access Token Location
-
The Survey Name you need to enter in onCourse is the name listed in the 'Title' field on Survey Monkey, in the example below it’s simply called 'Test'. This can be found by logging into your SurveyMonkey account and go to 'My Surveys'.

All your surveys inSurveyMonkey will be listed in
Survey Monkey uses the term 'Collectors' to describe ways you can send out your survey and collect responses.
Set up your collector and name it 'onCourse', as this is the default collector name the app looks for. If there is no Collector by this name, then the first Collector in the list is selected. We highly recommend naming the Collector 'onCourse'.
If you haven’t used SurveyMonkey before you will need to verify the collectors email address. Click on Survey name -> 'Collect Responses' tab -> Survey name under 'NICKNAME' and continue until the email is sent.
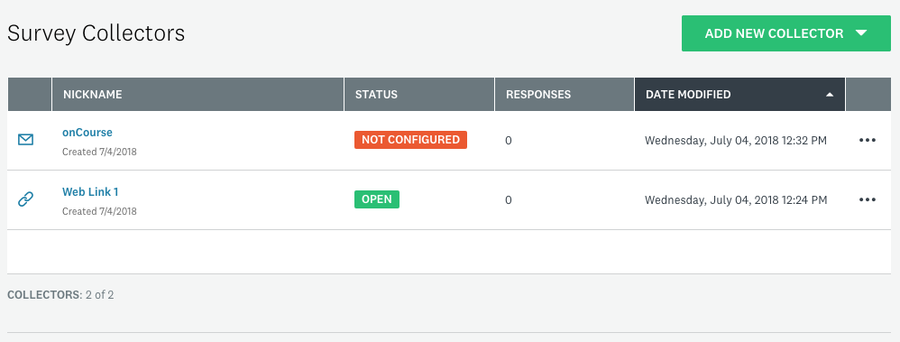
A view of some Collectors,one has yet to be configured
The 'Sender email address' that survey responses are sent to is the same one you should have stored in the field 'Email from address' in the Messaging tab of the onCourse preferences window.
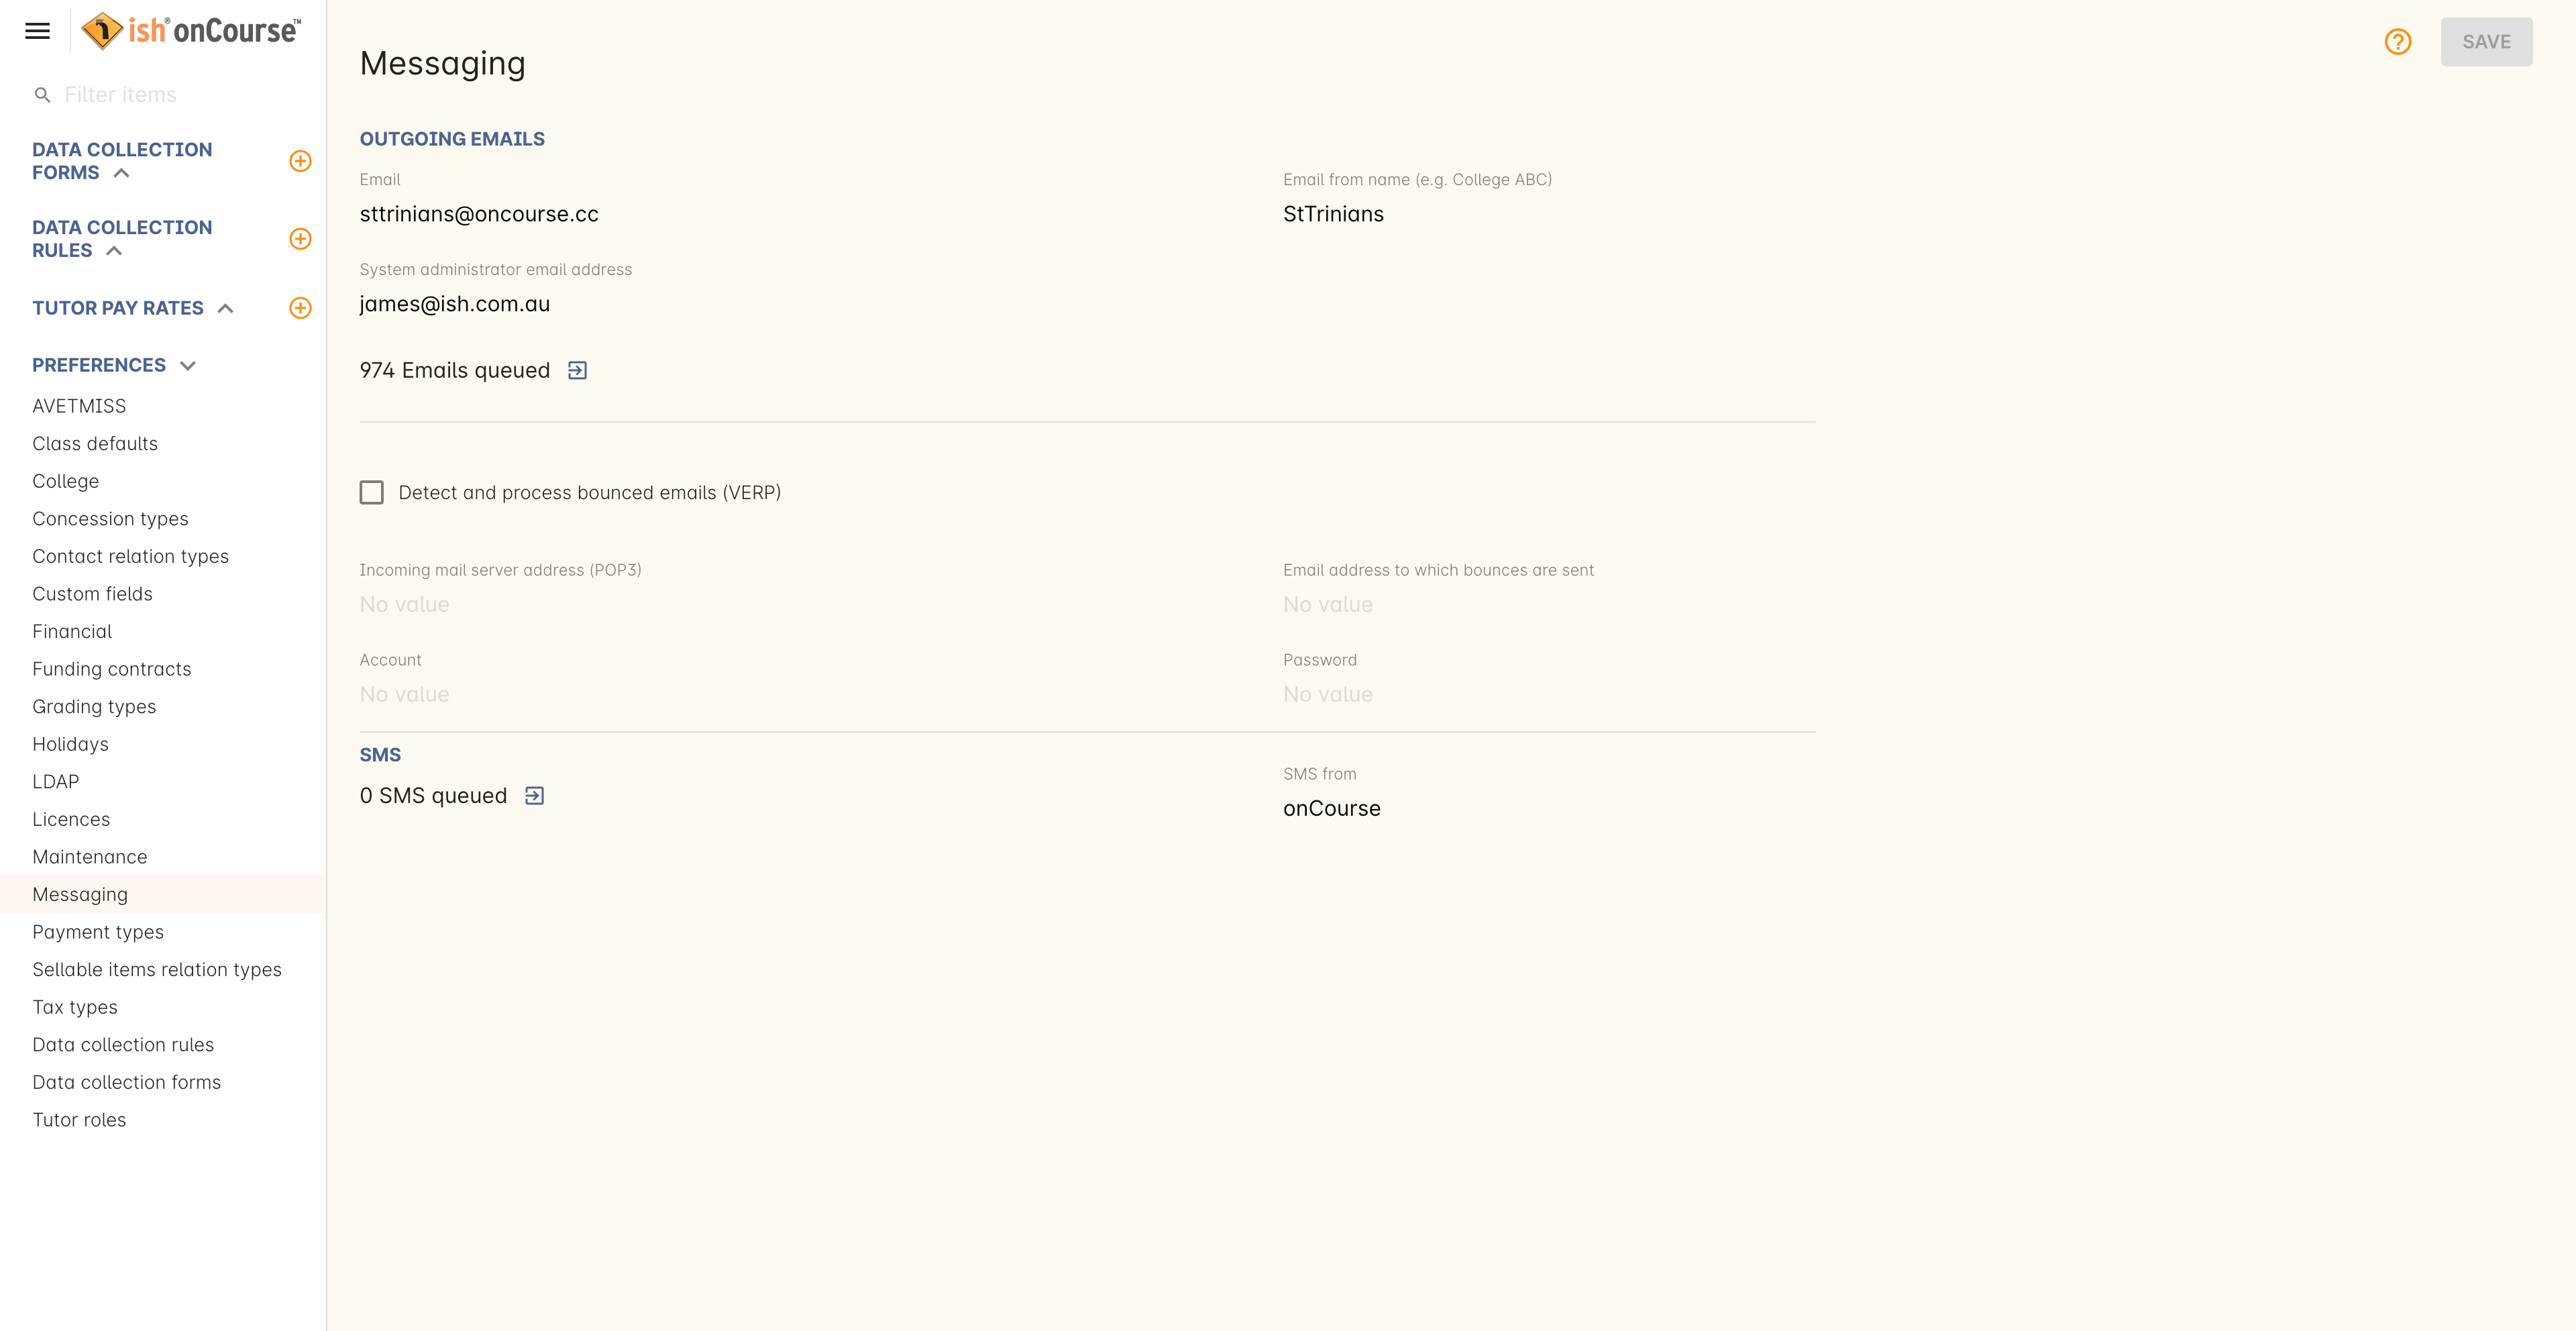
Messaging tab of the Preferences window
Updated over 1 year ago
