Settings
The editor allows you to manage a number of different aspects of how the website and portal display information. This includes determining what information can be viewed through the SkillsonCourse portal, general website settings, any checkout settings or preferences and the site’s 301 redirects.
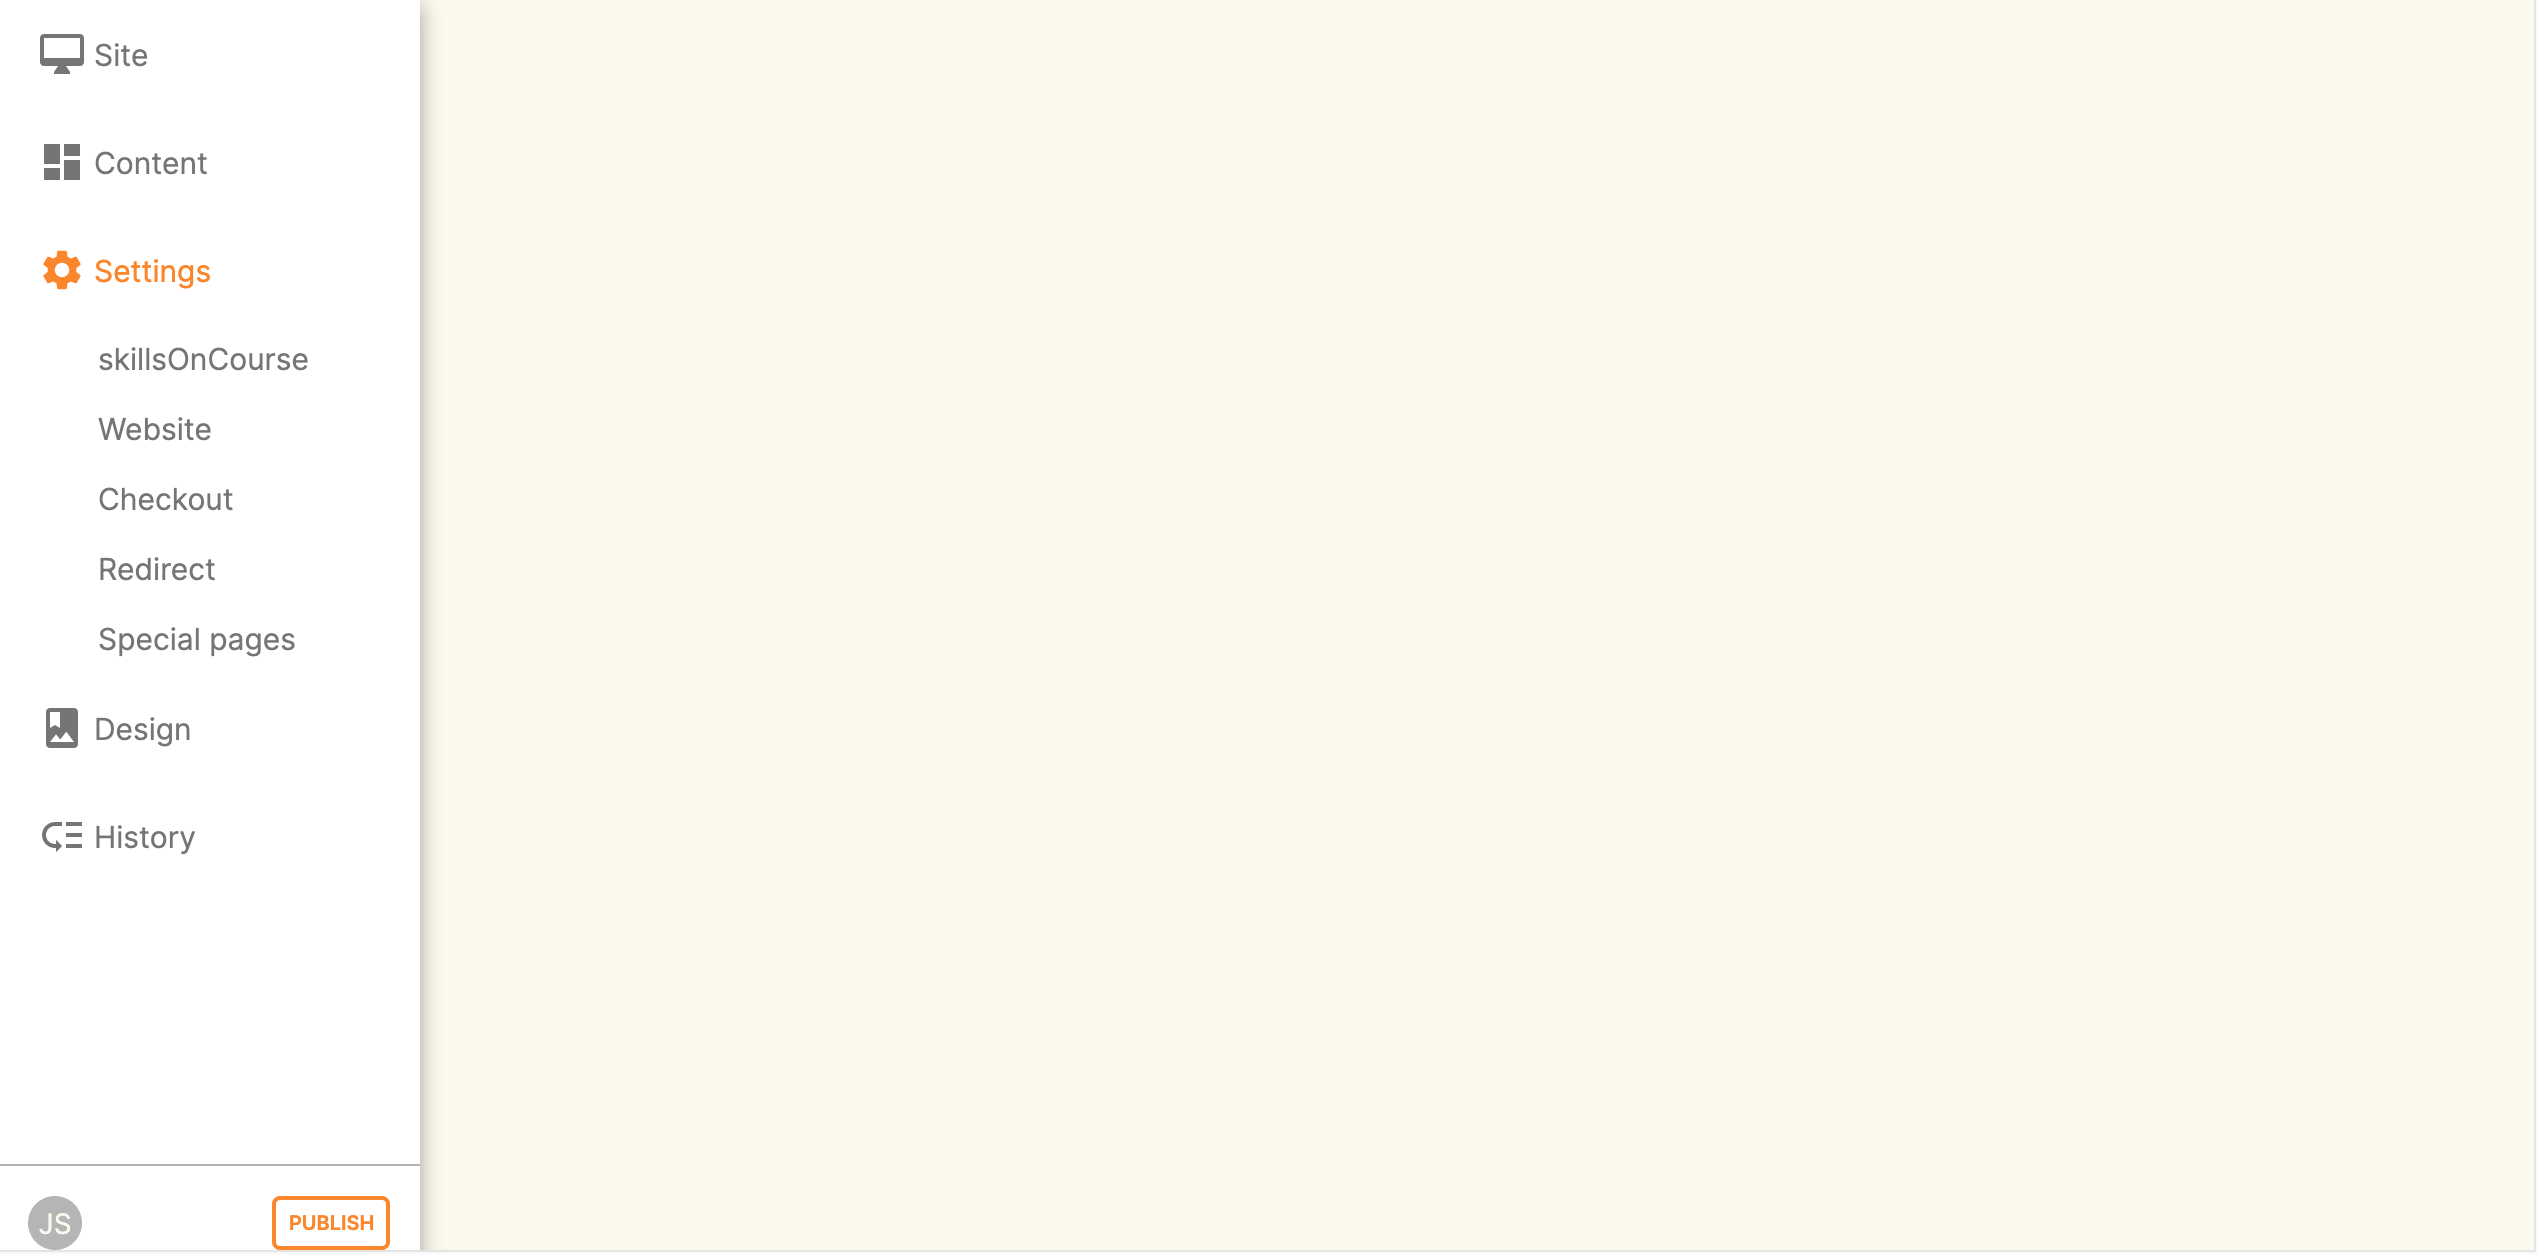
SkillsOnCourse
The SkillsonCourse Settings page allows you to manage the amount of information that is able to Tutors in the SkillsonCourse portal.
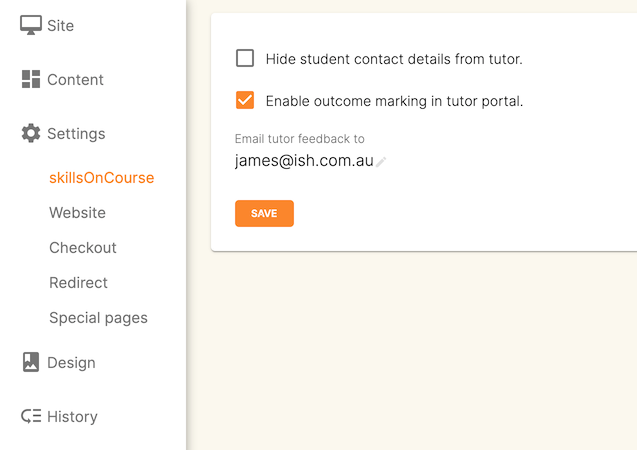
Hide student contact details from tutor: When a tutor is viewing the class roll via the SkillsonCourse, you can determine whether you want them to be able to view the email address, phone numbers of each student listed on the class roll. Please note that it is not possible to not display the contact details for one class, but display it for another, as this setting is universally applied.
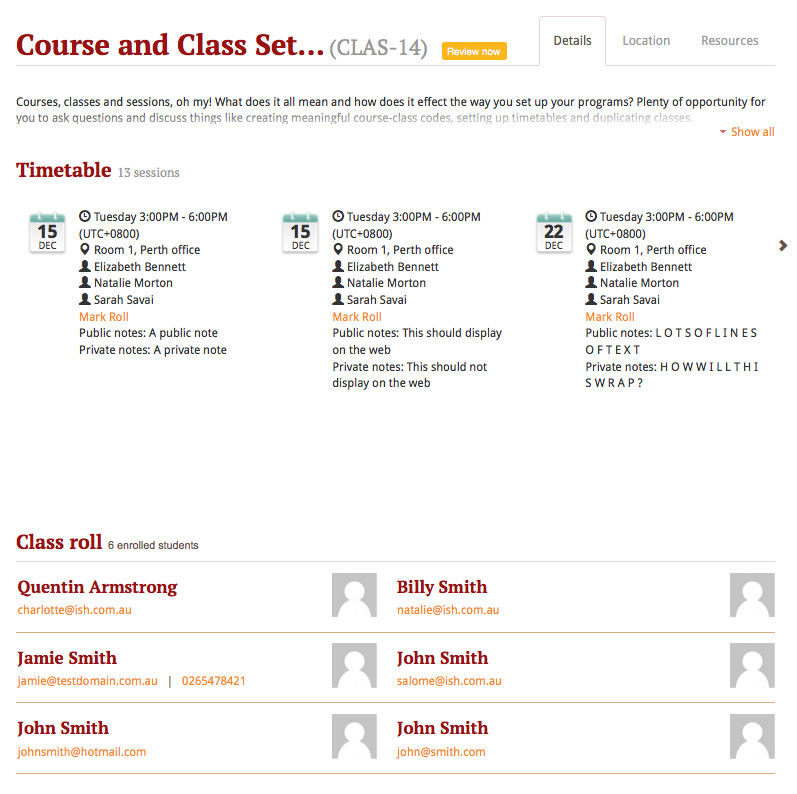
The below SkillsonCourse portal view shows the student contact details displayed within the class roll. By specifying that you do not want the contact details to be displayed, this class list would simply show as a list of student names.
Website Settings
The website settings page gives a few different options on how things are displayed on the website.
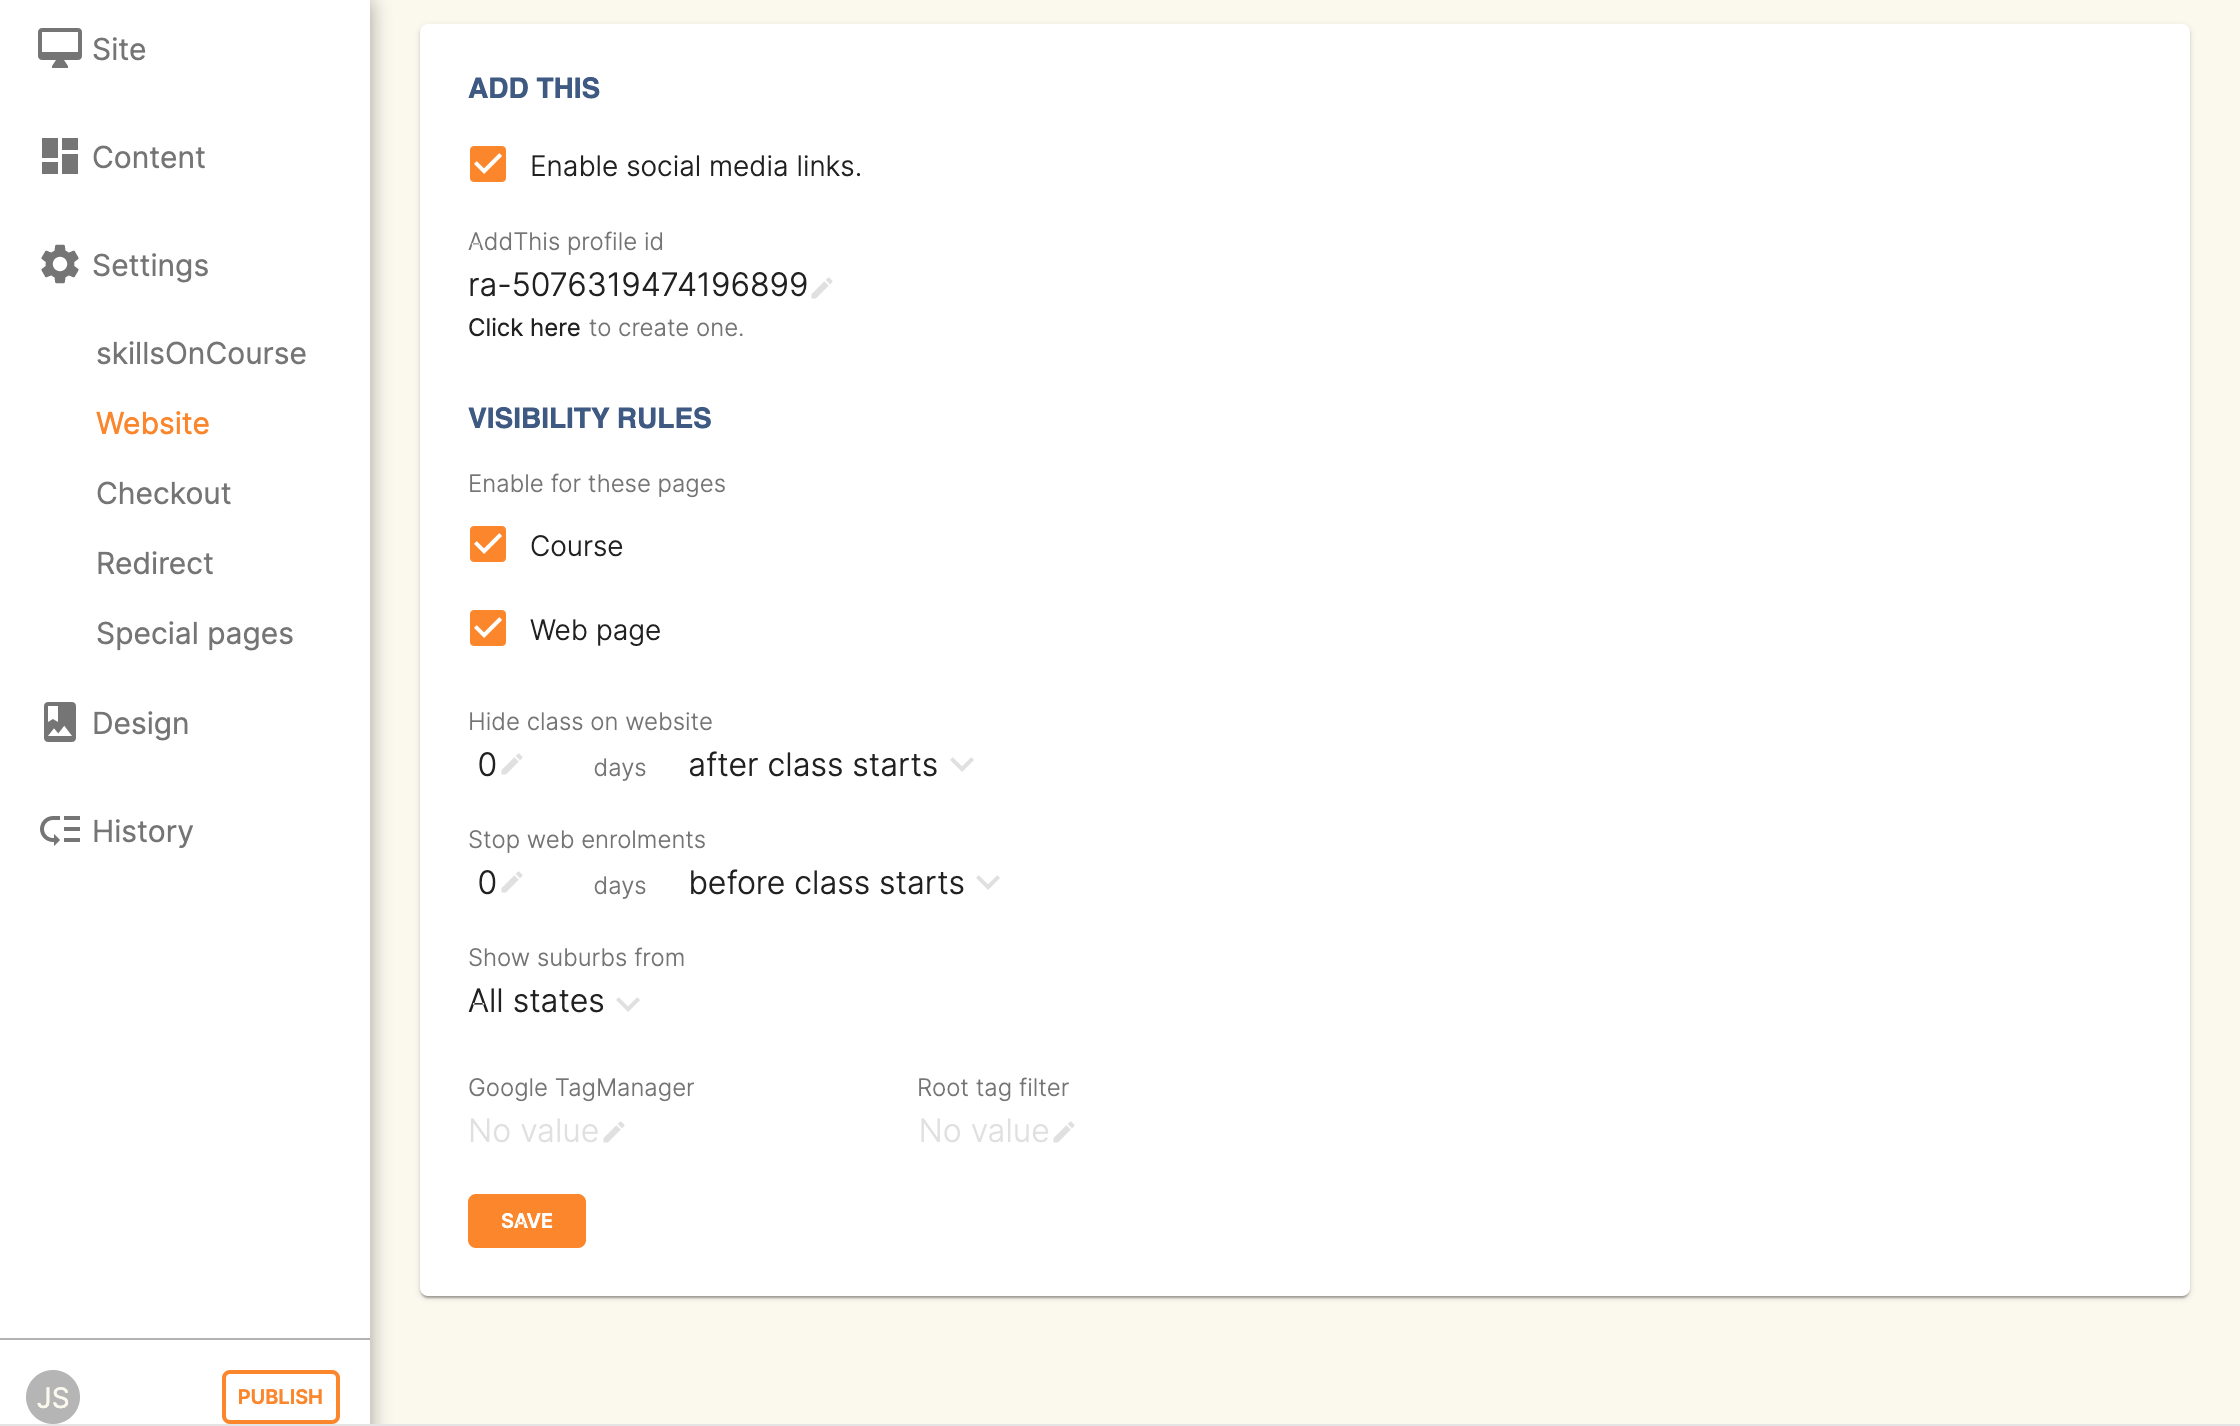
Add This is a powerful social media linking tool that enables you to insert social media links into your web pages, as well as giving you access to analytical tools to gain insight into your audience.
Add This accounts are free and the first step is to create a new account. Do this by clicking the 'Click here' link. Set up your account including specifying which social media links you wish to display on your website, the size and format of those links, as well as the free analytics tools that are part of your account set up.
Once complete, insert the Add This id into the field provided. You can choose what pages the Add This! buttons appear on by ticking the 'Course' or 'Web Page' boxes below the Add This! field.
Add This also gives you a snippet of HTML to put into your site. You can put this HTML snippet into a page or block manually.
<!-- AddThis Button BEGIN -->
<div class="addthis_toolbox addthis_default_style ">
    <a class="addthis_button_preferred_1"></a>
    <a class="addthis_button_preferred_2"></a>
    <a class="addthis_button_preferred_3"></a>
    <a class="addthis_button_preferred_4"></a>
    <a class="addthis_button_compact"></a>
    <a class="addthis_counter addthis_bubble_style"></a>
</div>
<script type="text/javascript" src="http://s7.addthis.com/js/250/addthis_widget.js#pubid=ra-4f0fc25723d304e0"></script><
!-- AddThis Button END-->
If you insert the social media links to your course information, it displays as follows.
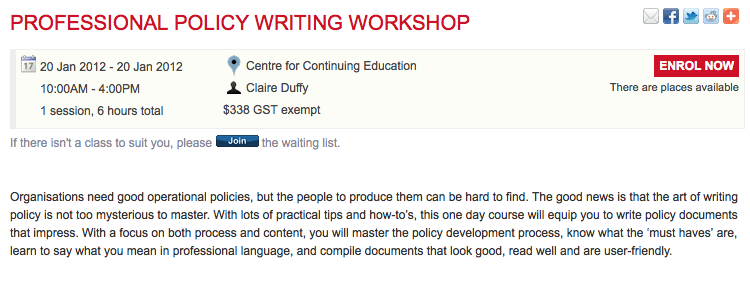
Example of how you can add social media links to any courses on your website
Hide Classes on Website/Stop web enrolments Here you can set classes to hide or stop taking enrolments automatically after some threshold is passed. For examples, after a class starts, before a class starts after a class ends or beforea class ends.
Show Suburbs from The 'Show suburbs from' dropdown allows you to filter out suburbs being returned in the site search. For example, when entering the search query 'Newtown', with 'Show suburbs from' set to 'All states' the advanced search will return classes from:
- NEWTOWN, 2042
- NEWTOWN, 3220
- NEWTOWN, 3351
- NEWTOWN, 4305
- NEWTOWN, 4350
Setting 'Show suburbs from' to NSW will just return:
- NEWTOWN, 2042
Once you have finished changing your website settings, hit 'SAVE' to apply them.
Checkout
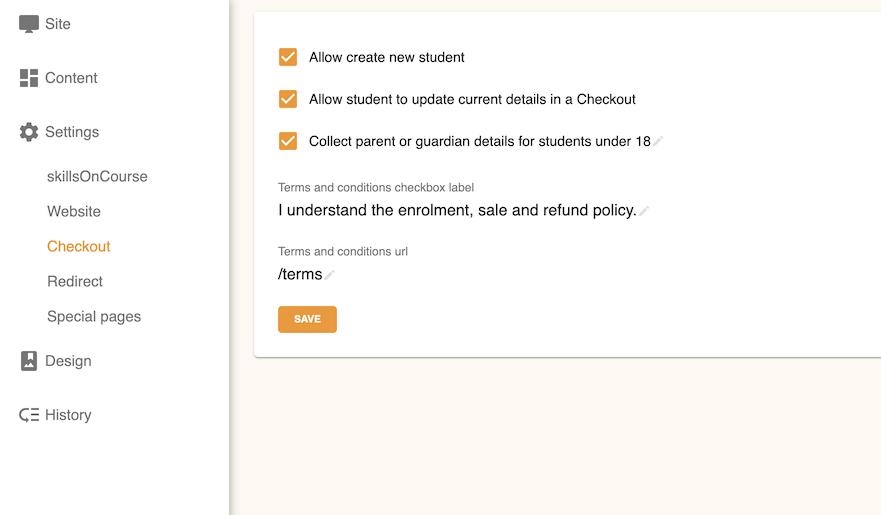
The checkout page gives you some simple options to set around when users access the /checkout part of your website.
Allow create new student - allows new student records to be created by users on the website. Disable this if you only want to allow students you or your staff have added to onCourse manually to use the checkout.
Allow student to update current details in a Checkout - allows any previously answered data collection questions by this student be asked again. This allows returning students the opportunity to update their previous information at the time of enrolment.
Collect parent or guardian details for students under - turn on if you wish to collect parent/guardian details for students under the set age.
Terms and conditions checkbox label - The text that displays alongside your terms and conditions checkbox in the website checkout. The default text is 'I understand the enrolment, sale and refund policy.'
Terms and conditions url - The relative path of the terms and conditions page. Should always start with a /. Default is /terms.
Redirect
The redirect settings allow you to create 301 redirects to your website by entering the path in the field on the left (starting with '/') and the destination in the field on the right (either starting with '/' for another local page or starting with http/https for redirecting to another website)
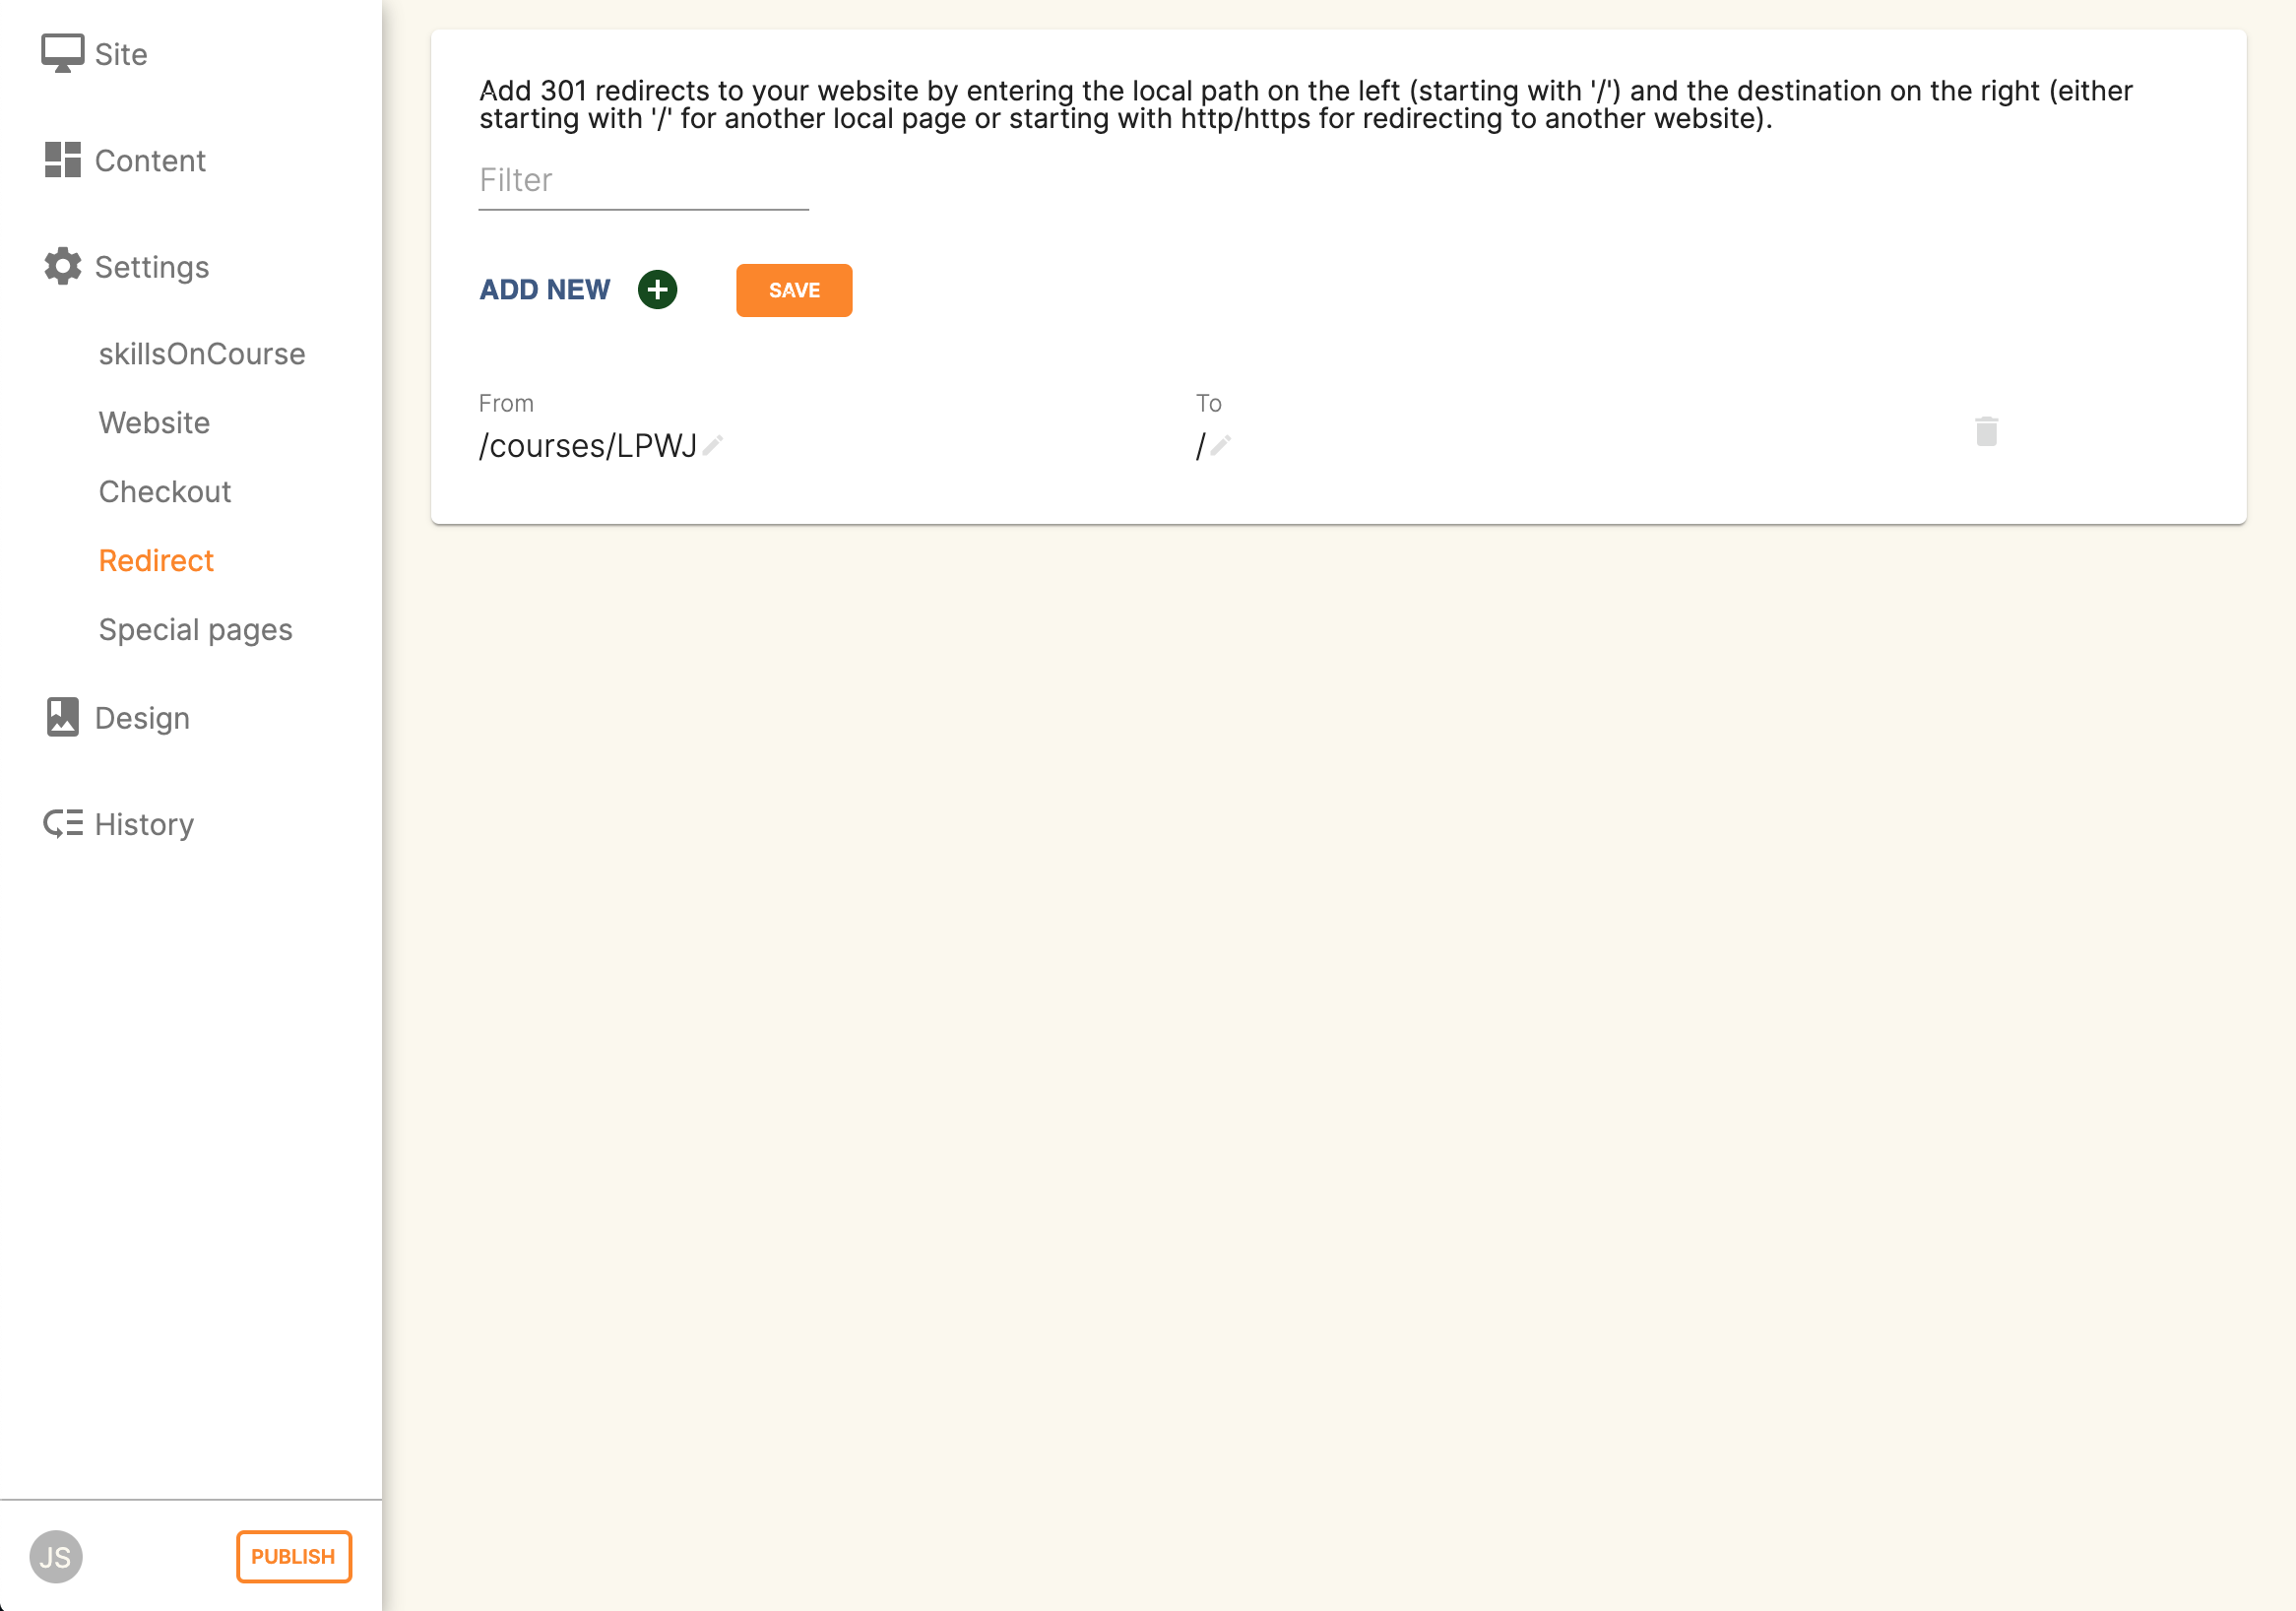
Editing an existing redirect
You can edit an existing redirect by changing the From and To parameters.
Adding a new redirect
Clicking 'ADD NEW' creates a new redirect at the bottom of the redirects, with blank From and To parameters.
Once you have finished editing the list of redirects, click 'SAVE' to add the redirects to your site.
Updated over 1 year ago
