Canvas
Canvas is an open-source learning management system for delivering training to students. This integration allows you to automatically make enrolments and students using information you’ve already entered into onCourse.

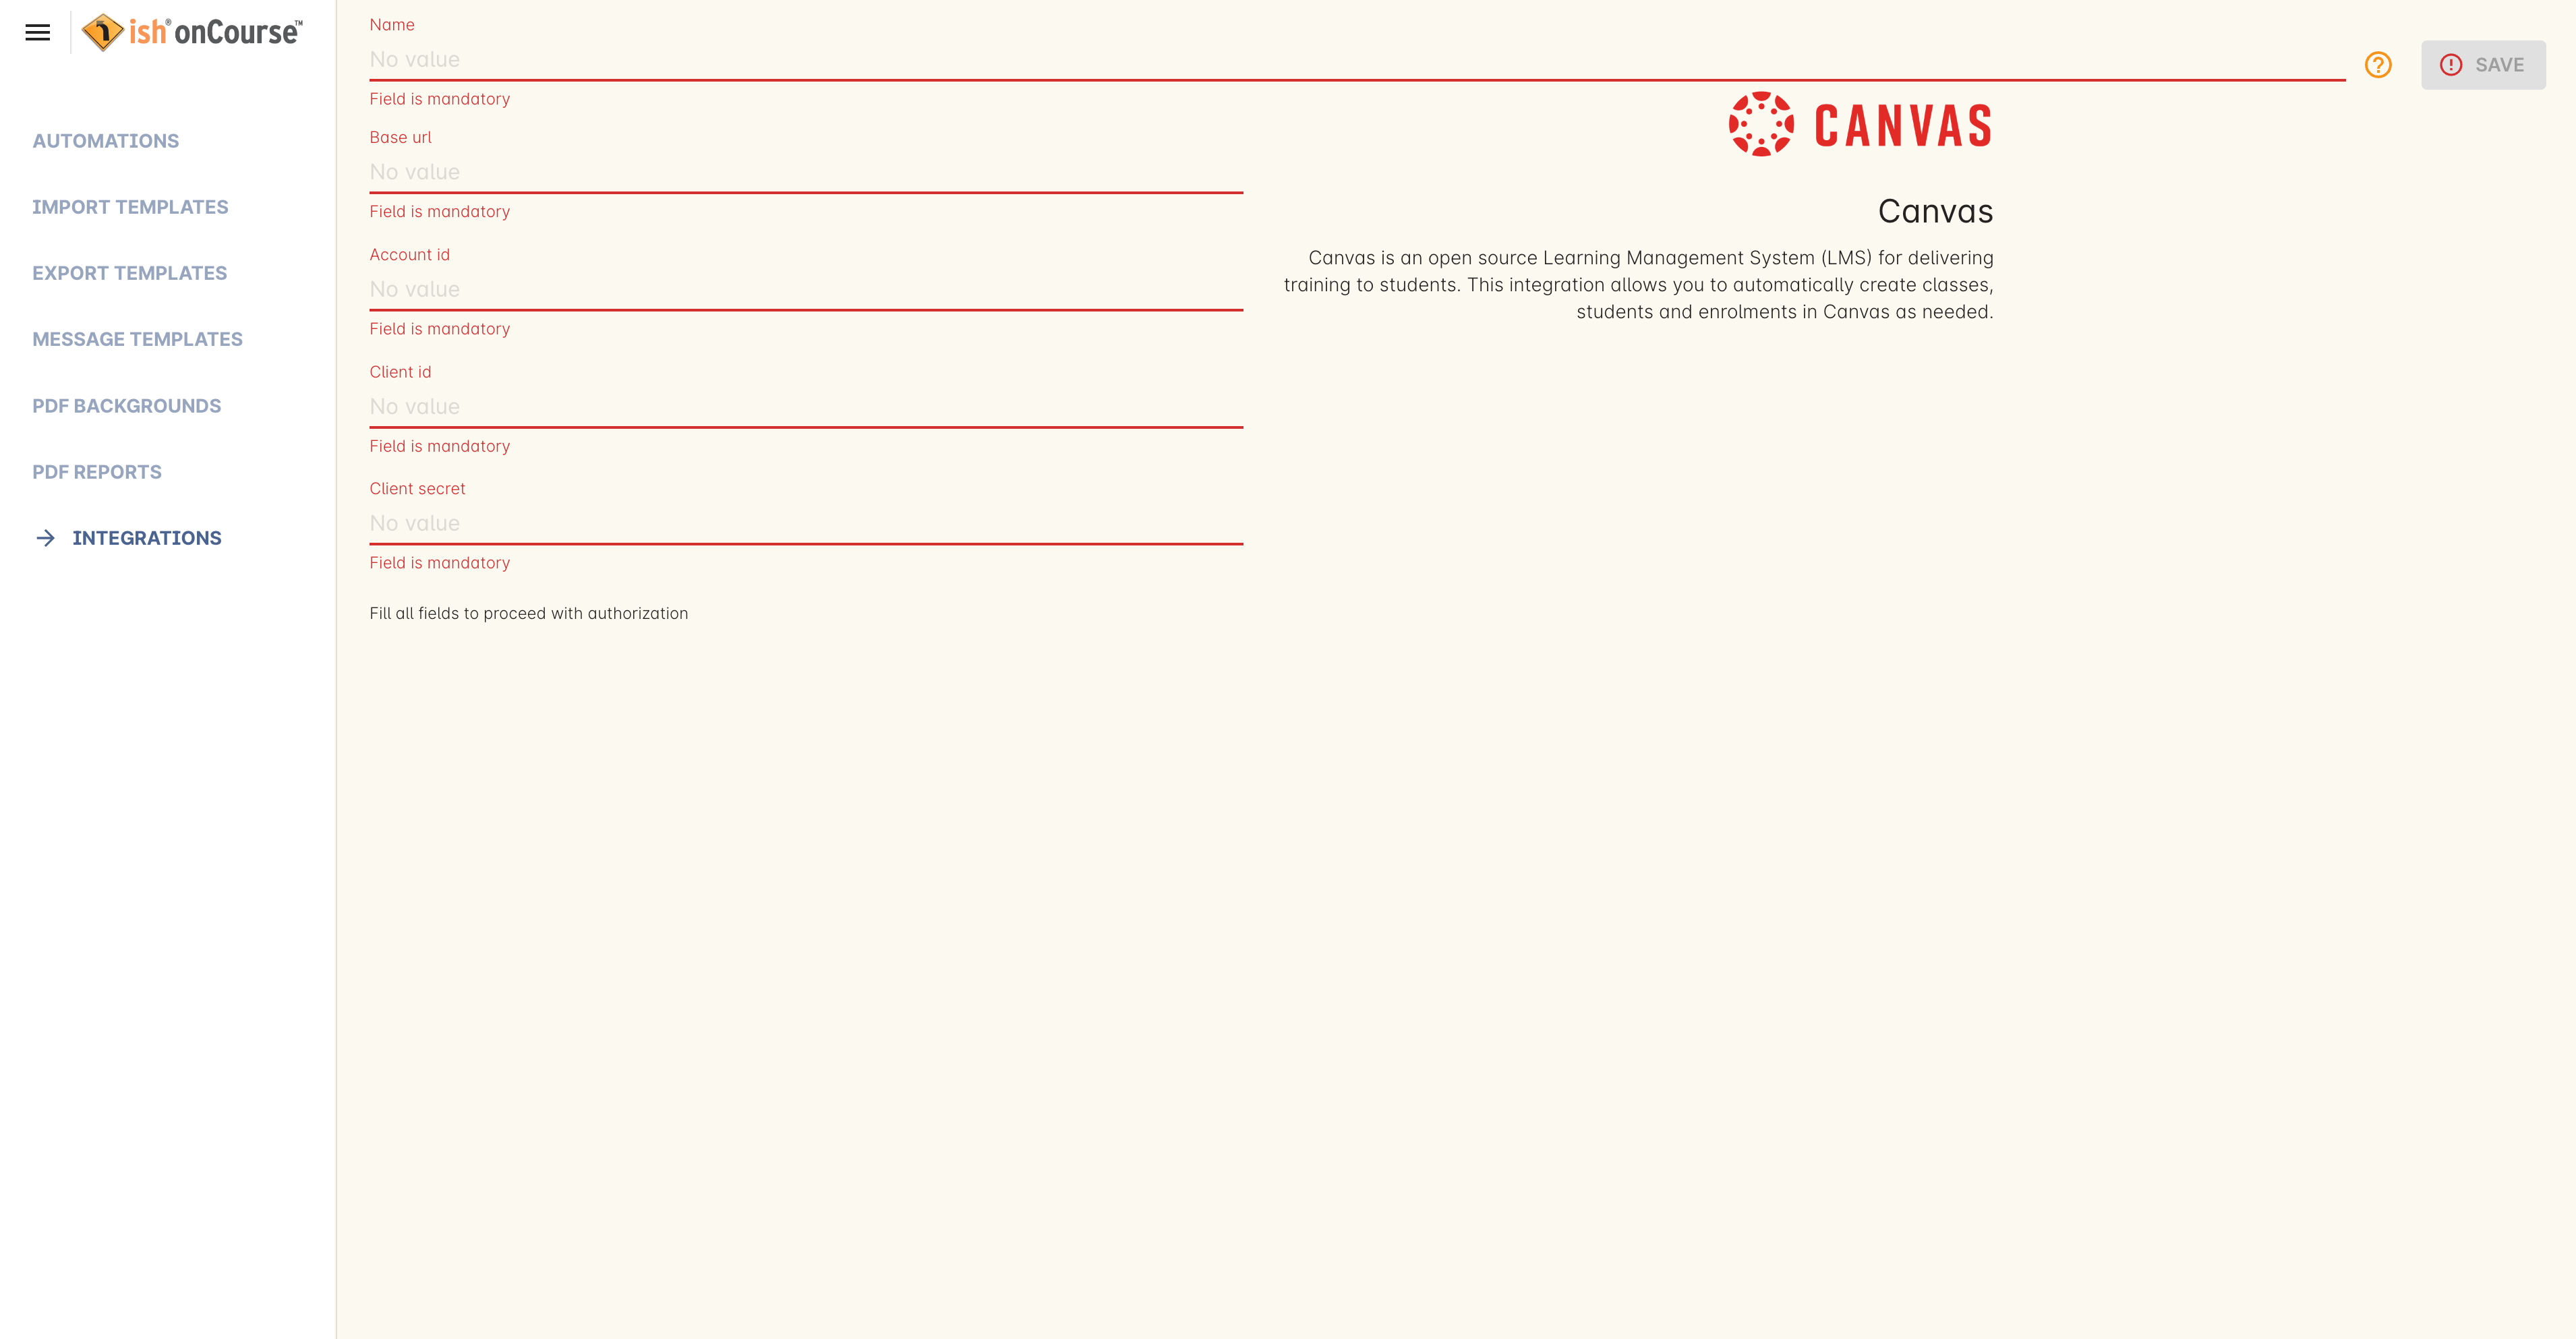
Canvas Integration window
To use the onCourse integration with Canvas, you will first need to have set up a developer key in Canvas itself.
You will also need to have the relevant courses and classes set up in Canvas. Canvas uses slightly different terminology here; courses are still 'courses', but classes are known as 'sections'. You’ll need to ensure that every course and class you want captured by the integration is duplicated in both Canvas and onCourse. However, if you cannot set up every class, in the Canvas script there is a value that, when set to true, can create new sections (classes) if one does not exist for the equivalent course in onCourse.
When setting up a course in Canvas, it must use the same course code as the equivalent class in onCourse. Similarly with classes, all sections in Canvas must use the same code as the equivalent class in onCourse. E.G. if you set up a course with the code CWC101, and it has one class (that you don’t edit the code of), then the course code would be CWC101 and the section/class code would be CWC101-1.
Once every course and class is created in both systems, create a tag in onCourse. The tag must be set to Courses, and it must be called 'Canvas'. You must set this tag on each course that’s to be included in the integration.
As soon as you’ve got your developer key, you can continue with the integration in onCourse:
- in onCourse, go to Automation
- Click the green + button next to the Integrations header in the left-hand column of the window that opens
- Find the Canvas integrations and select 'Add'
- Enter the URL of your Canvas instance. This will look like following -
https://my_canvas_instance.instructure.edu.au/ - where 'my_canvas_instance' would be personalised with the name you gave it during initial set up. You also need to enter your client id, the client secret from your developer key, and set the authentication provider id. Set this to 'true' if users should be authenticating via Canvas.
The account ID is the id number that corresponds with the account you wish to enrol students into. You can find this by logging into Canvas, then navigating to the left-hand menu bar. Select Admin > then select your account.
This will open an accounts page. The account ID will be listed in the site’s URL e.g. if the URL is
https://my_canvas_instance.instructure.edu.au/accounts/36 then you would enter 36 as the account ID, and only that number. You don’t enter the URL. Once you’ve completed filling in the expected fields in onCourse, a button labelled 'Configure' will appear. Click this and a pop-up window will appear, asking you to log in to Canvas and authorise onCourse to integrate with your account.
. Lastly, you’ll need to turn on the integration script. You can do this by going to Automation, and enabling the 'Canvas Enrol' script. Make sure you hit the Save button before closing the window.
Canvas additional features
There are some additional features that can be added individually to the onCourse Canvas integration. These include the ability to pass additional id’s to Canvas from onCourse, create a course from a Canvas blueprint, create a password for a new student, add a tutor to the course, and expiring/suspending a student’s canvas account if all their canvas enrolments are completed.
If you have the licence to amend scripts, make a copy of the 'canvas enrol' script and amend it by adding further lines into the canvas closure, as demonstrated in this documentation.
To use the Expire Students function, you’ll need to manually create a new automation script, with the closure detailed in this documentation as the 'script' content.
Refer to the above links for more details about these additional functions.
Updated over 1 year ago
