Capturing the USI in onCourse
The USI does not need to be captured at the time of enrolment, but typically you’ll want to have it entered and verified before the class is completed in order to not delay issuing of certificates.
Creating a USI for a student
Some students will not be able to navigate the USI portal to obtain their own USI, in which case you are able to do this on their behalf within the VET section of their contact record, just click the cogwheel next to the USI field then select 'Create a USI...'
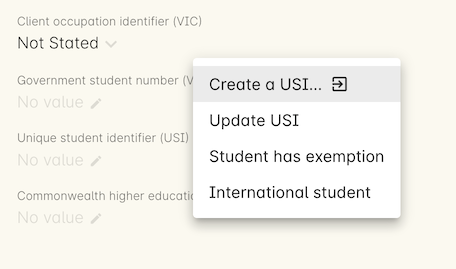
Figure 445. When there is no USI supplied,you can click on the link to open a web portal and create a new USI.
Clicking on this link will open a web portal where you can complete the student details and identity document information. You will need to declare that you have obtained permission from the student to complete this process on their behalf.
We do not recommend you copy or store the student’s identity documentation in their onCourse record as this is in breach of the USI legislation.
Manual entry of a USI
When you create a new student or update an existing one, you can type the USI directly into the field available on the VET tab in their contact record. This can also be done directly within the checkout process. The USI will be checked for validity (it is the correct length and matches a checksum) and then verified against the USI agency.
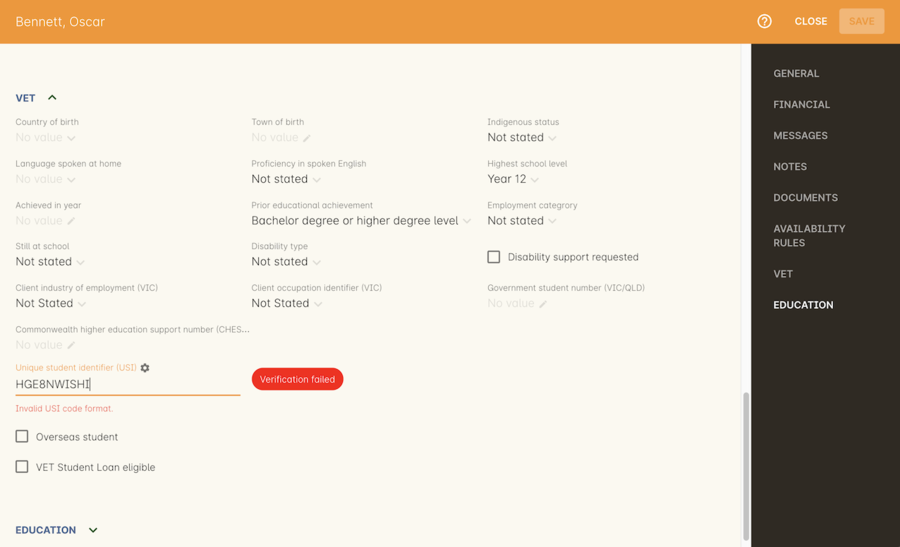
Figure 446. What you will see if the USI has not been entered correctly. This USI is invalid as it doesn
If you have completed the steps to set up the USI Integration successfully, then the USI validation system in onCourse will be enabled.
Once a complete USI is entered, the background validation process with the USI Registry System will run automatically. The validation process is checking that the student’s first name, last name, date of birth and USI match the data held by the USI Registry System.
If it succeeds the USI will be marked as verified with a green pill next to the USI field and the student’s first name, last name and date of birth will become locked.
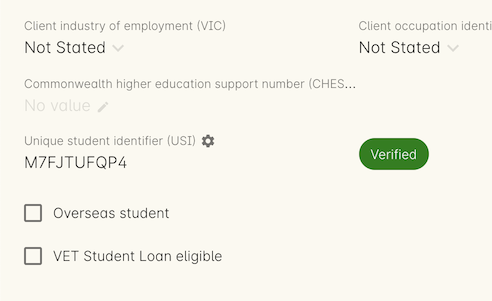
Figure 447. This USI has passed verification and the record has been locked.
If the one of the fields do not match e.g. the student’s first name in onCourse is a shortened version of their legal name, then the USI verification process will fail. Hovering over the information icon next to the USI field label will show the reason why the verification process failed. You can update the non-matching data in onCourse and the verification process will run again, automatically, when you change one of the first name, last name, date of birth or USI field’s data.
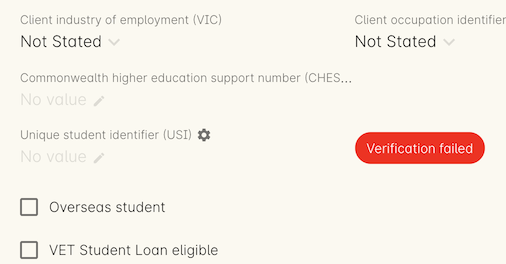
Figure 448. This USI has failed verification. The data can be corrected and the verification attempted again.
Editing a locked student record
After successful USI validation, the data that was matched with the USI - the first name, last name, date of birth and USI of the student, becomes locked and will no longer display an edit icon next to the field.
On occasion, a student may inform you that they created their USI with the wrong name details and wish to update their records. To do this, they need to contact the USI Agency by logging into their own portal and completing the process to make the change. Once the USI Agency has the details of the change, you can go ahead and update their onCourse records to match.
In the VET section of the contact, click the cogwheel next to the USI field and click 'Update USI'. This will empty the student’s USI field and unlock their first name, last name and birth date fields. Once updated you’ll need to re-enter the student’s USI number for validation.
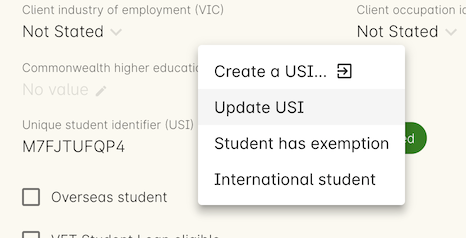
Figure 449. Click the cogwheel next to the USI field,then select Update USI to update an already verified contact
Updated over 1 year ago
