Creating a new lead

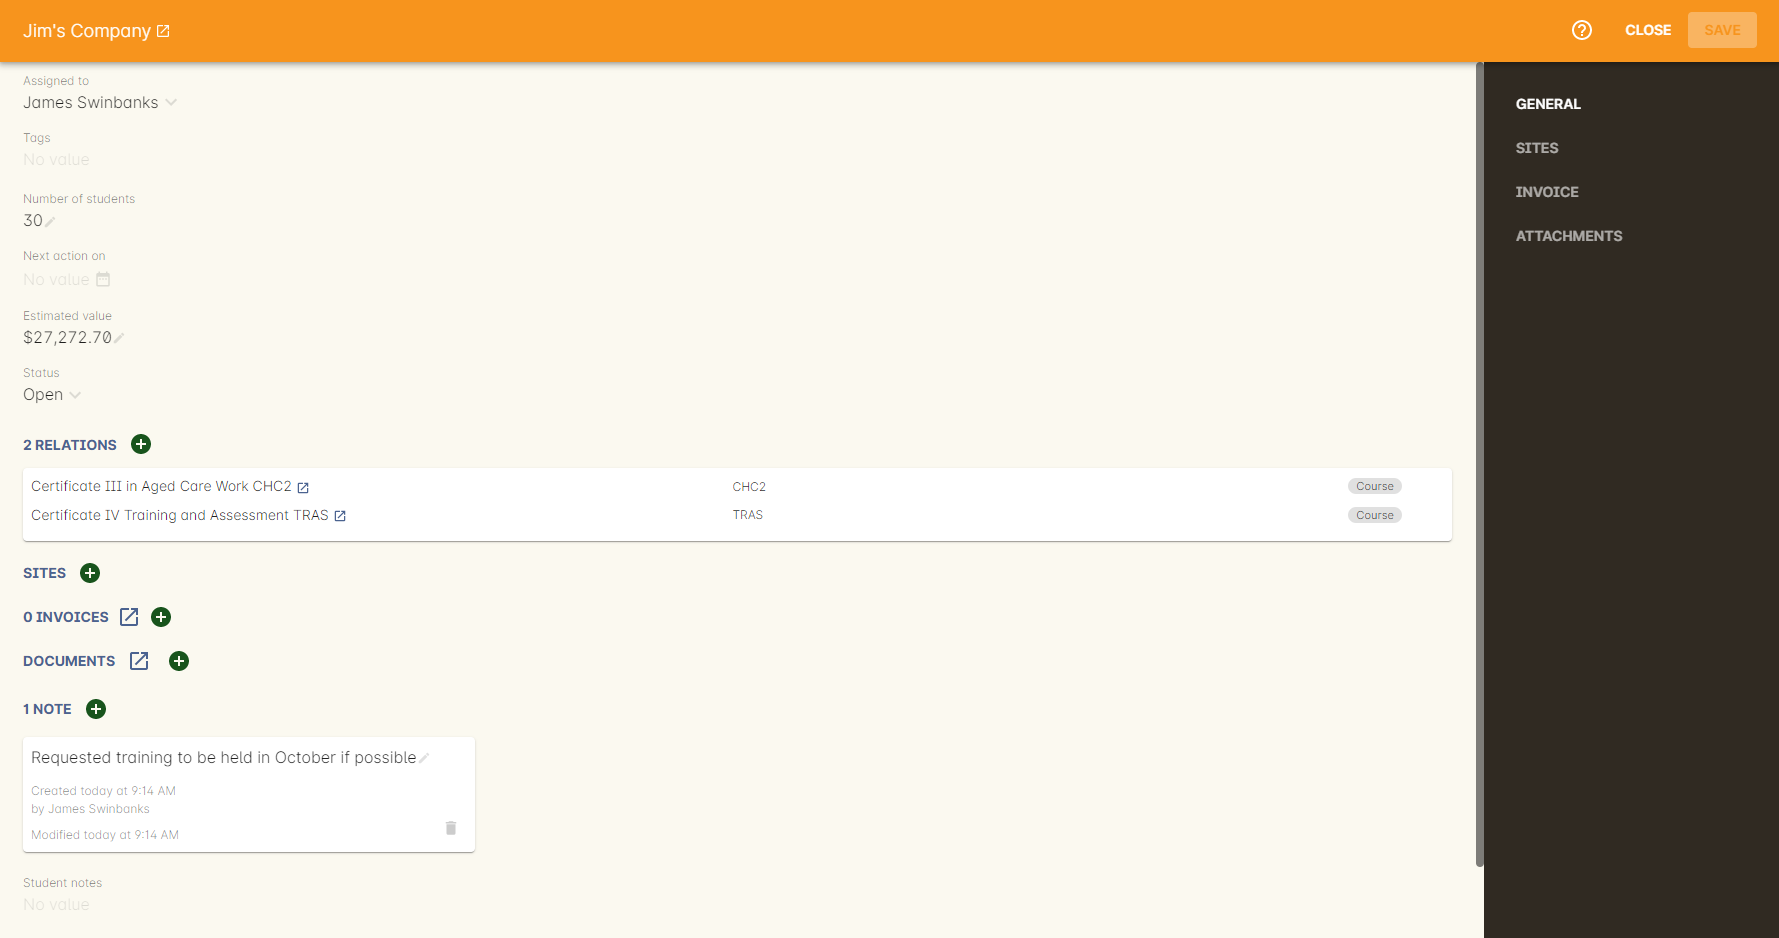
Figure 221. A new lead with two course relations
There are two ways to create a new lead; within the leads window, or via the checkout. To create a lead directly within the leads window, go to the leads window and click the + icon in the bottom-right corner.
Add a contact by typing their name and selecting a record from the drop-down list. The record must already exist in the system before you can create a lead for it.
Leads cannot be created without a contact, at minimum.
You can set a number of students to indicate the potential number of enrolments or sales. Set a 'next action on' date and time, set a status of Open or Closed, add tags (useful if you want to add more detail to your leads for grouping). You can also add a site preference for the lead, documents, invoices (or quotes) and notes.
Updated over 1 year ago
